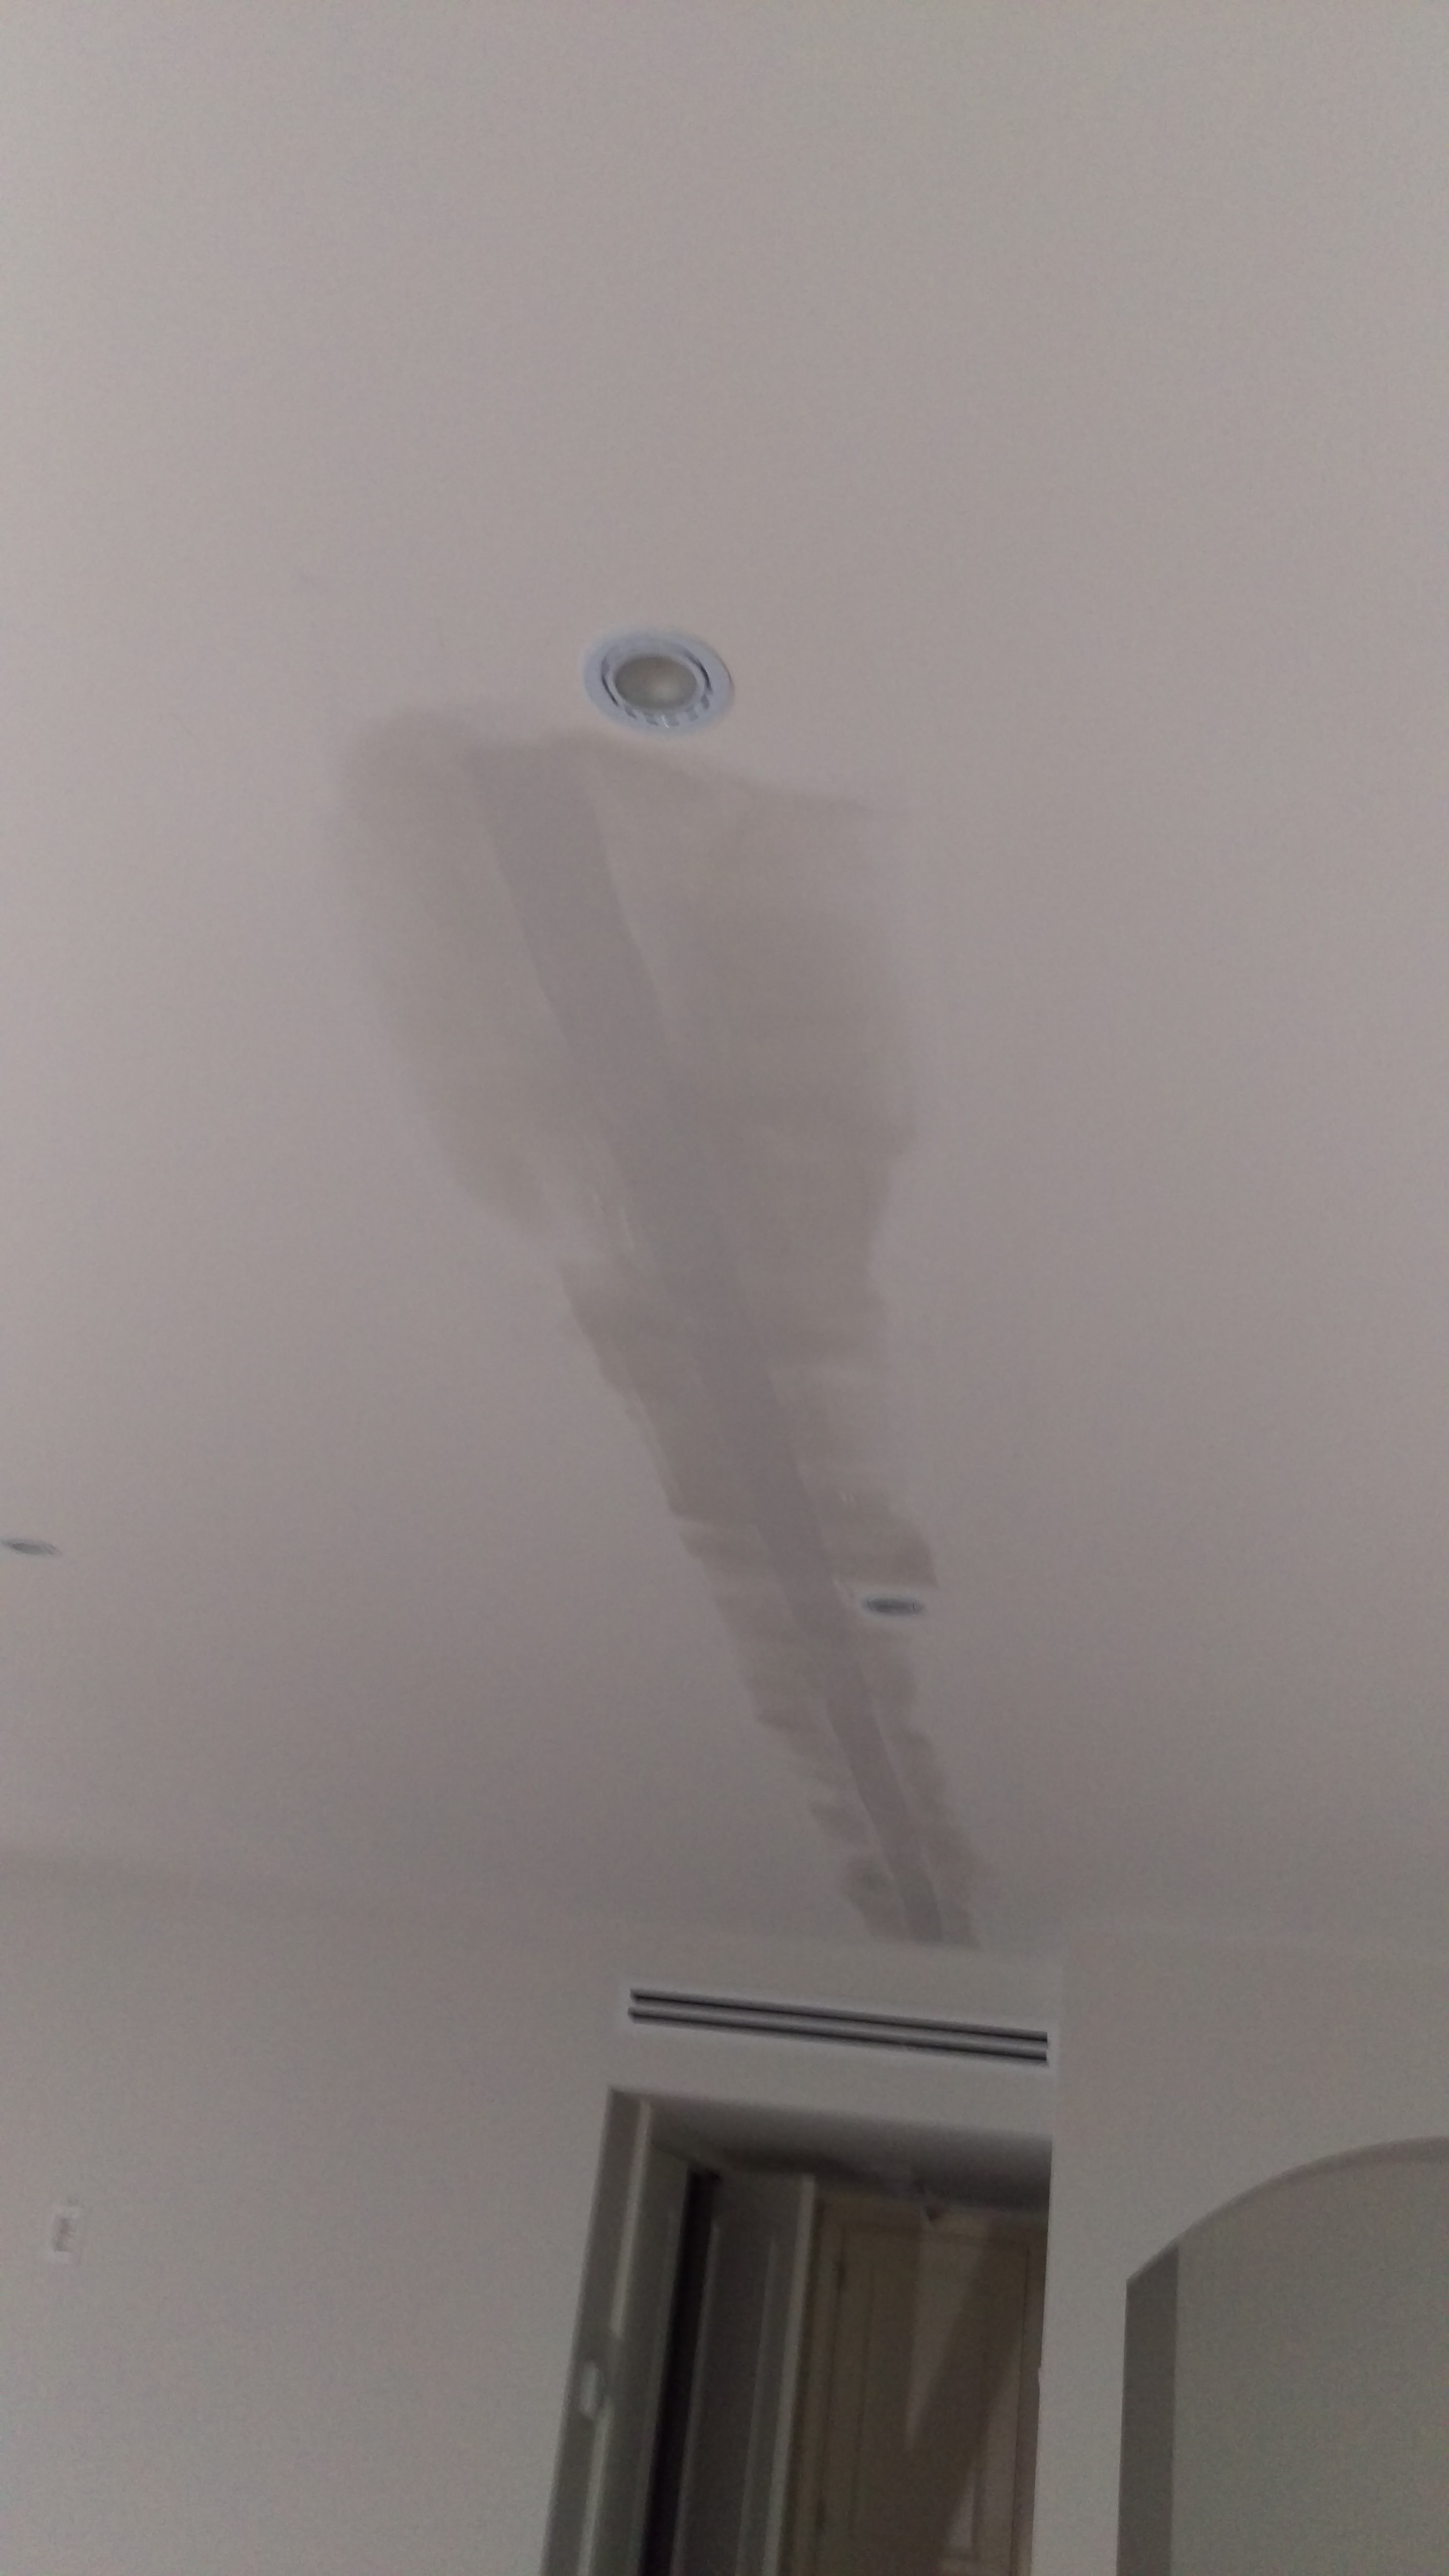
Homes expand, contract, and shift with time, especially given how widely the temperature can vary season to season in Toronto. Because of this shifting drywall seams can crack over time. Cold weather can also lead to pipes bursting, causing water damage to drywall and you may need to go to somewhere like Apollo Plumbing (check it out here) to find a plumber to fix it. However, minor damage can be repaired with some DIY, so here’s what to do:
Supplies List:
- Dropsheets
- Flexible putty knives 1″, 6″, and 10″ or 12″
- Mud pan
- Drywall tape – I prefer FibaFuse
- Drywall screws
- Stud finder
- Durabond 90 or 45
- Sheetrock 45
- Sandpaper & sanding block
- Brush, roller, tray etc. for repainting after the crack is patched
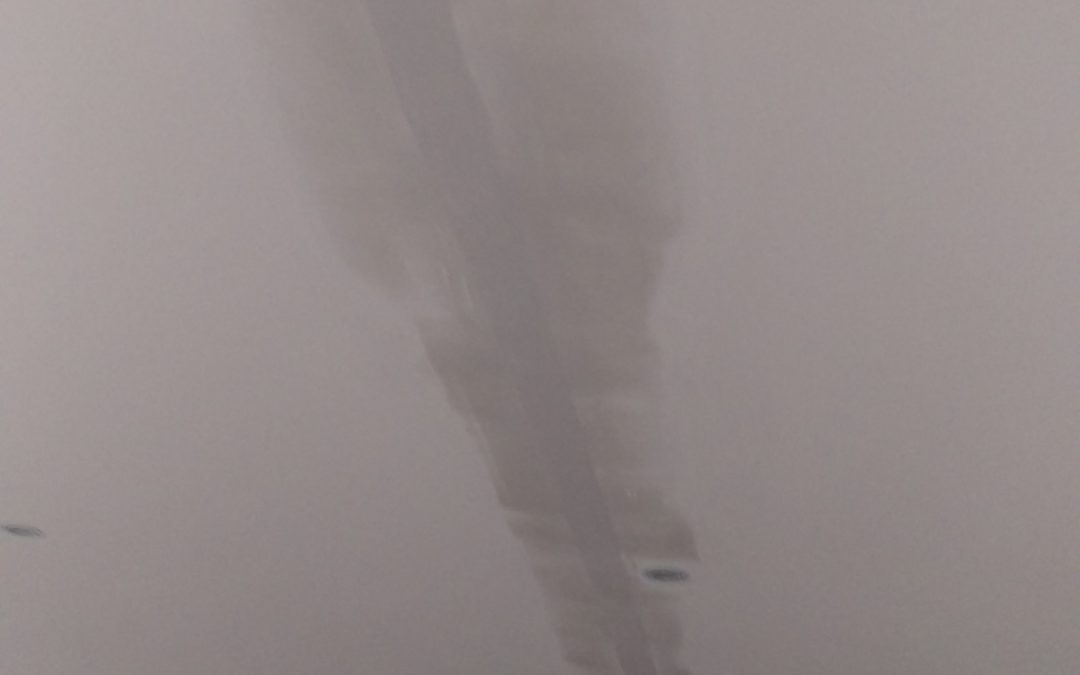
Old drywall tape removed, drywall seam exposed
Step 1: Remove the old drywall tape
If the tape is exposed you’ll just have to grab it and slowly pull. As you pull the layer of plaster on top will crumble and the drywall tape should come out in one long piece. If the tape isn’t exposed take a putty knife and dig until you expose the tape, then you’ll be able to pull it out of the wall or ceiling. As you pull out the old drywall tape it will make a channel, which you can use to embed your new drywall tape into. So make sure the channel is wide enough to fit the drywall tape you’re planning on using.
Step 2: Inspect for water damage
Once the tape has been removed it’s a good idea to make sure that there’s no water damage underneath. If the water damage is minor, you may want to find some information on drying drywall after water damage and with that, you should be able to solve it yourself. Although, you may also want to call a plumber who can find the source of the water, unless you can do so yourself. If the water damage is more severe, you should probably find a company which offers residential water damage restoration services and have them fix it for you.
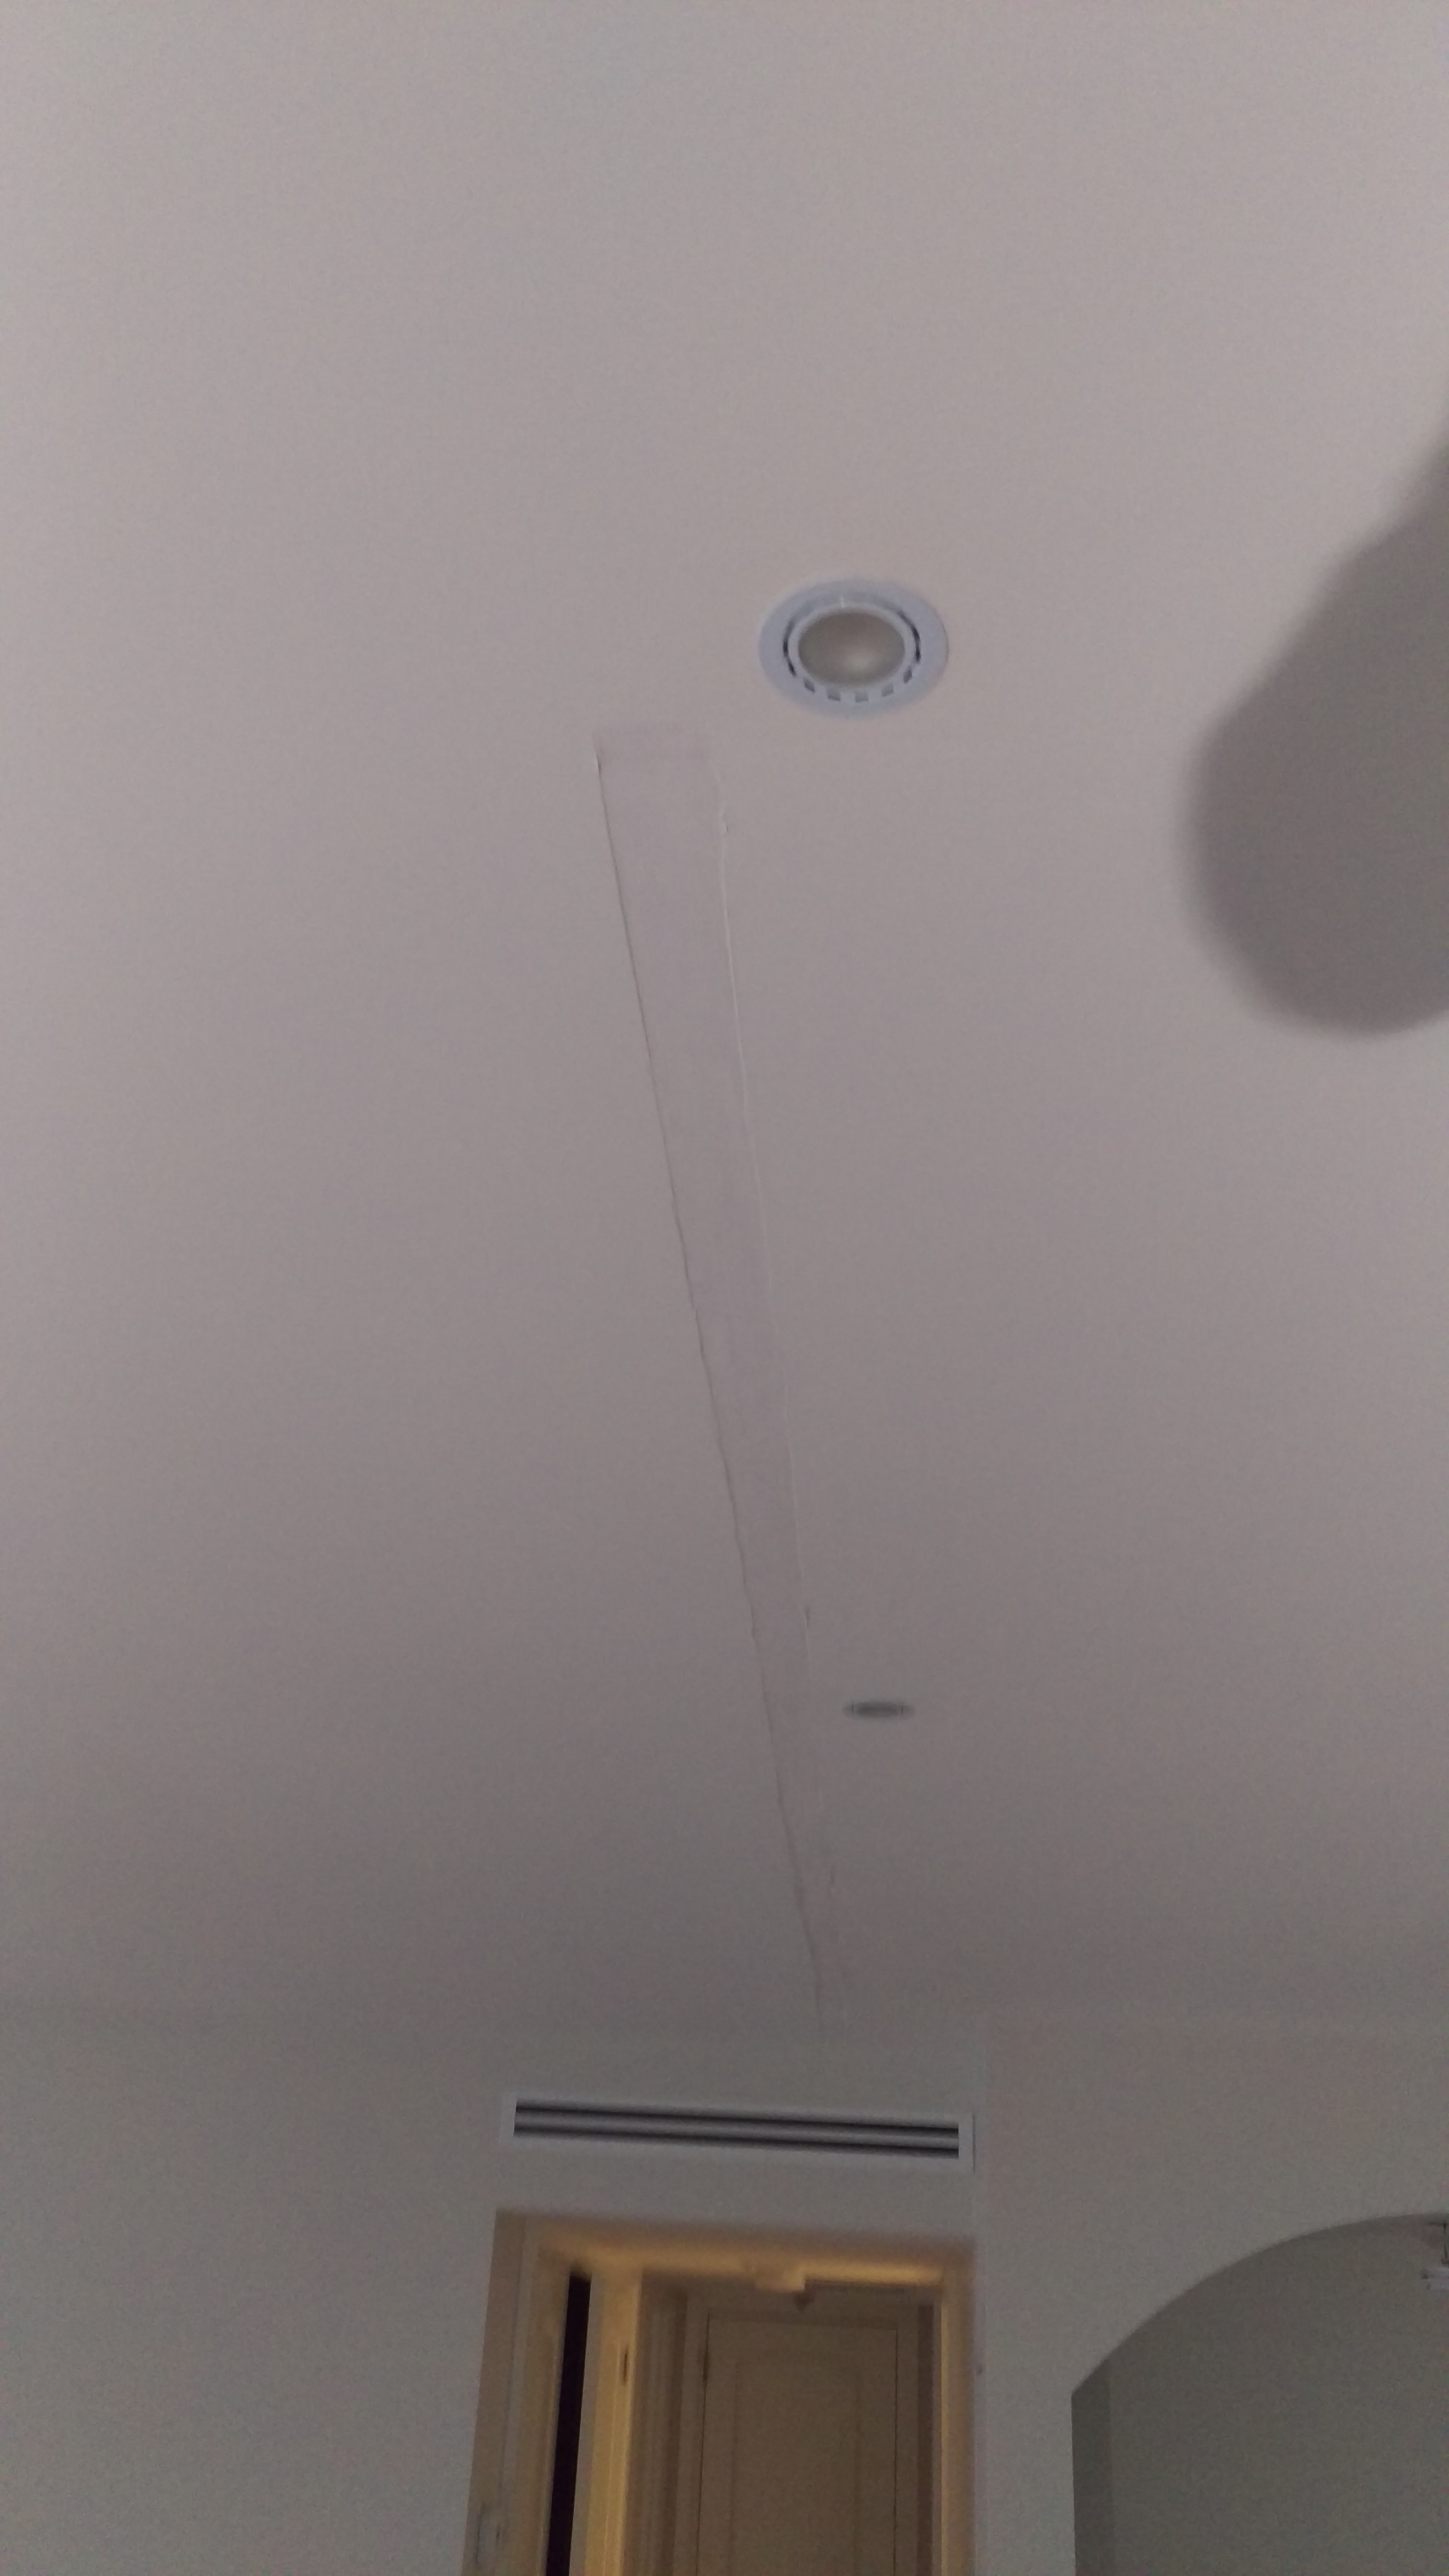
Step 3: Stabilize the crack with drywall screws
the crack is stabilized with screws
Use your stud finder to find the studs underneath the wall and then screw into the stud on either side of the crack as shown. This will help stabilize the crack so that the drywall doesn’t shift as much.
Pro tip: when screwing the screws into the drywall make sure you sink the head of the screw into the paper on the surface of the drywall, but not so deep that you tear the paper. Make sure that the screws are of good quality as this is more likely to prevent the seam from cracking again. You can browse all sorts of screws from Tradefix Direct.
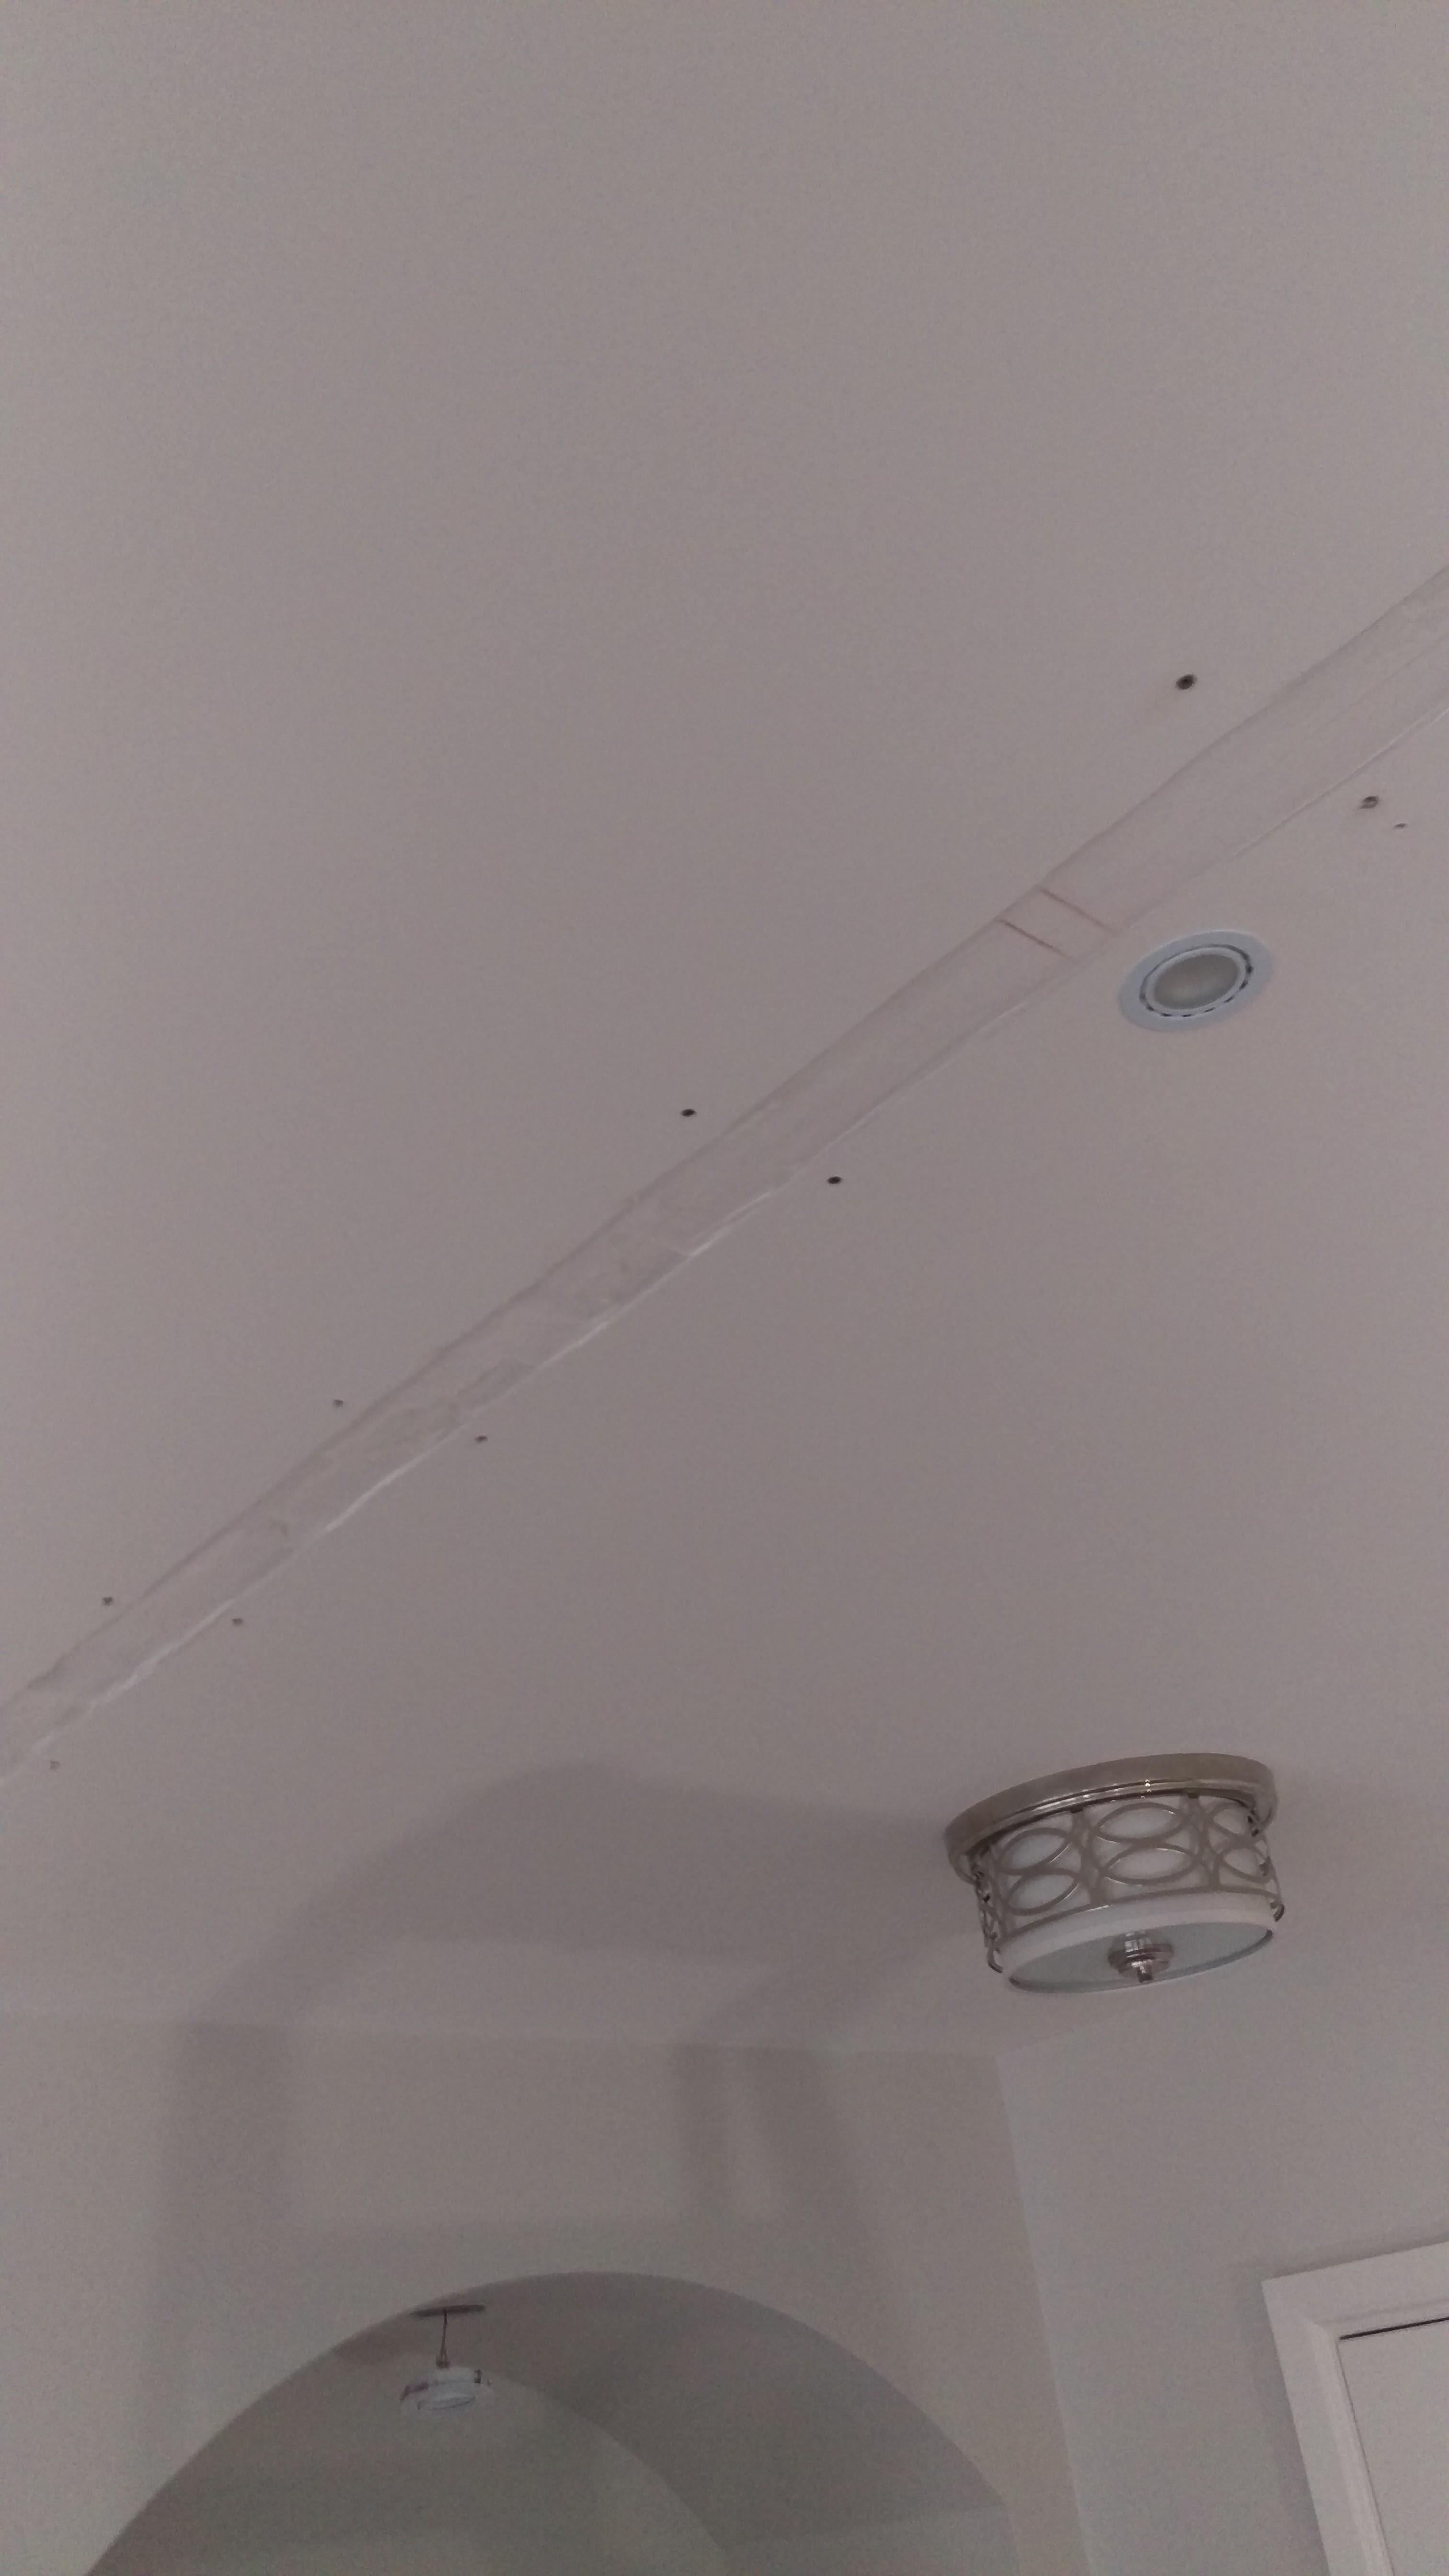
Step 4: Embed the drywall tape
When repairing cracks I prefer to use FibaFuse tape instead of regular mesh tape or paper tape. FibaFuse I have found to be the most durable, and when making a repair to an area that’s cracked I want to make sure that the crack won’t come back.
FibaFuse is embedded
Pro tip: FibaFuse is a fiberglass tape, so it’s best to use gloves when handling it.
When you mix your Durabond you want the consistency to be a little thinner than peanut butter. Fill the channel with Durabond and embed the tape, smoothing afterward with a drywall knife to eliminate any air pockets underneath.
Scrape off any excess Durabond before it dries because it is hard to sand once dry. Let the Durabond dry before the next step.
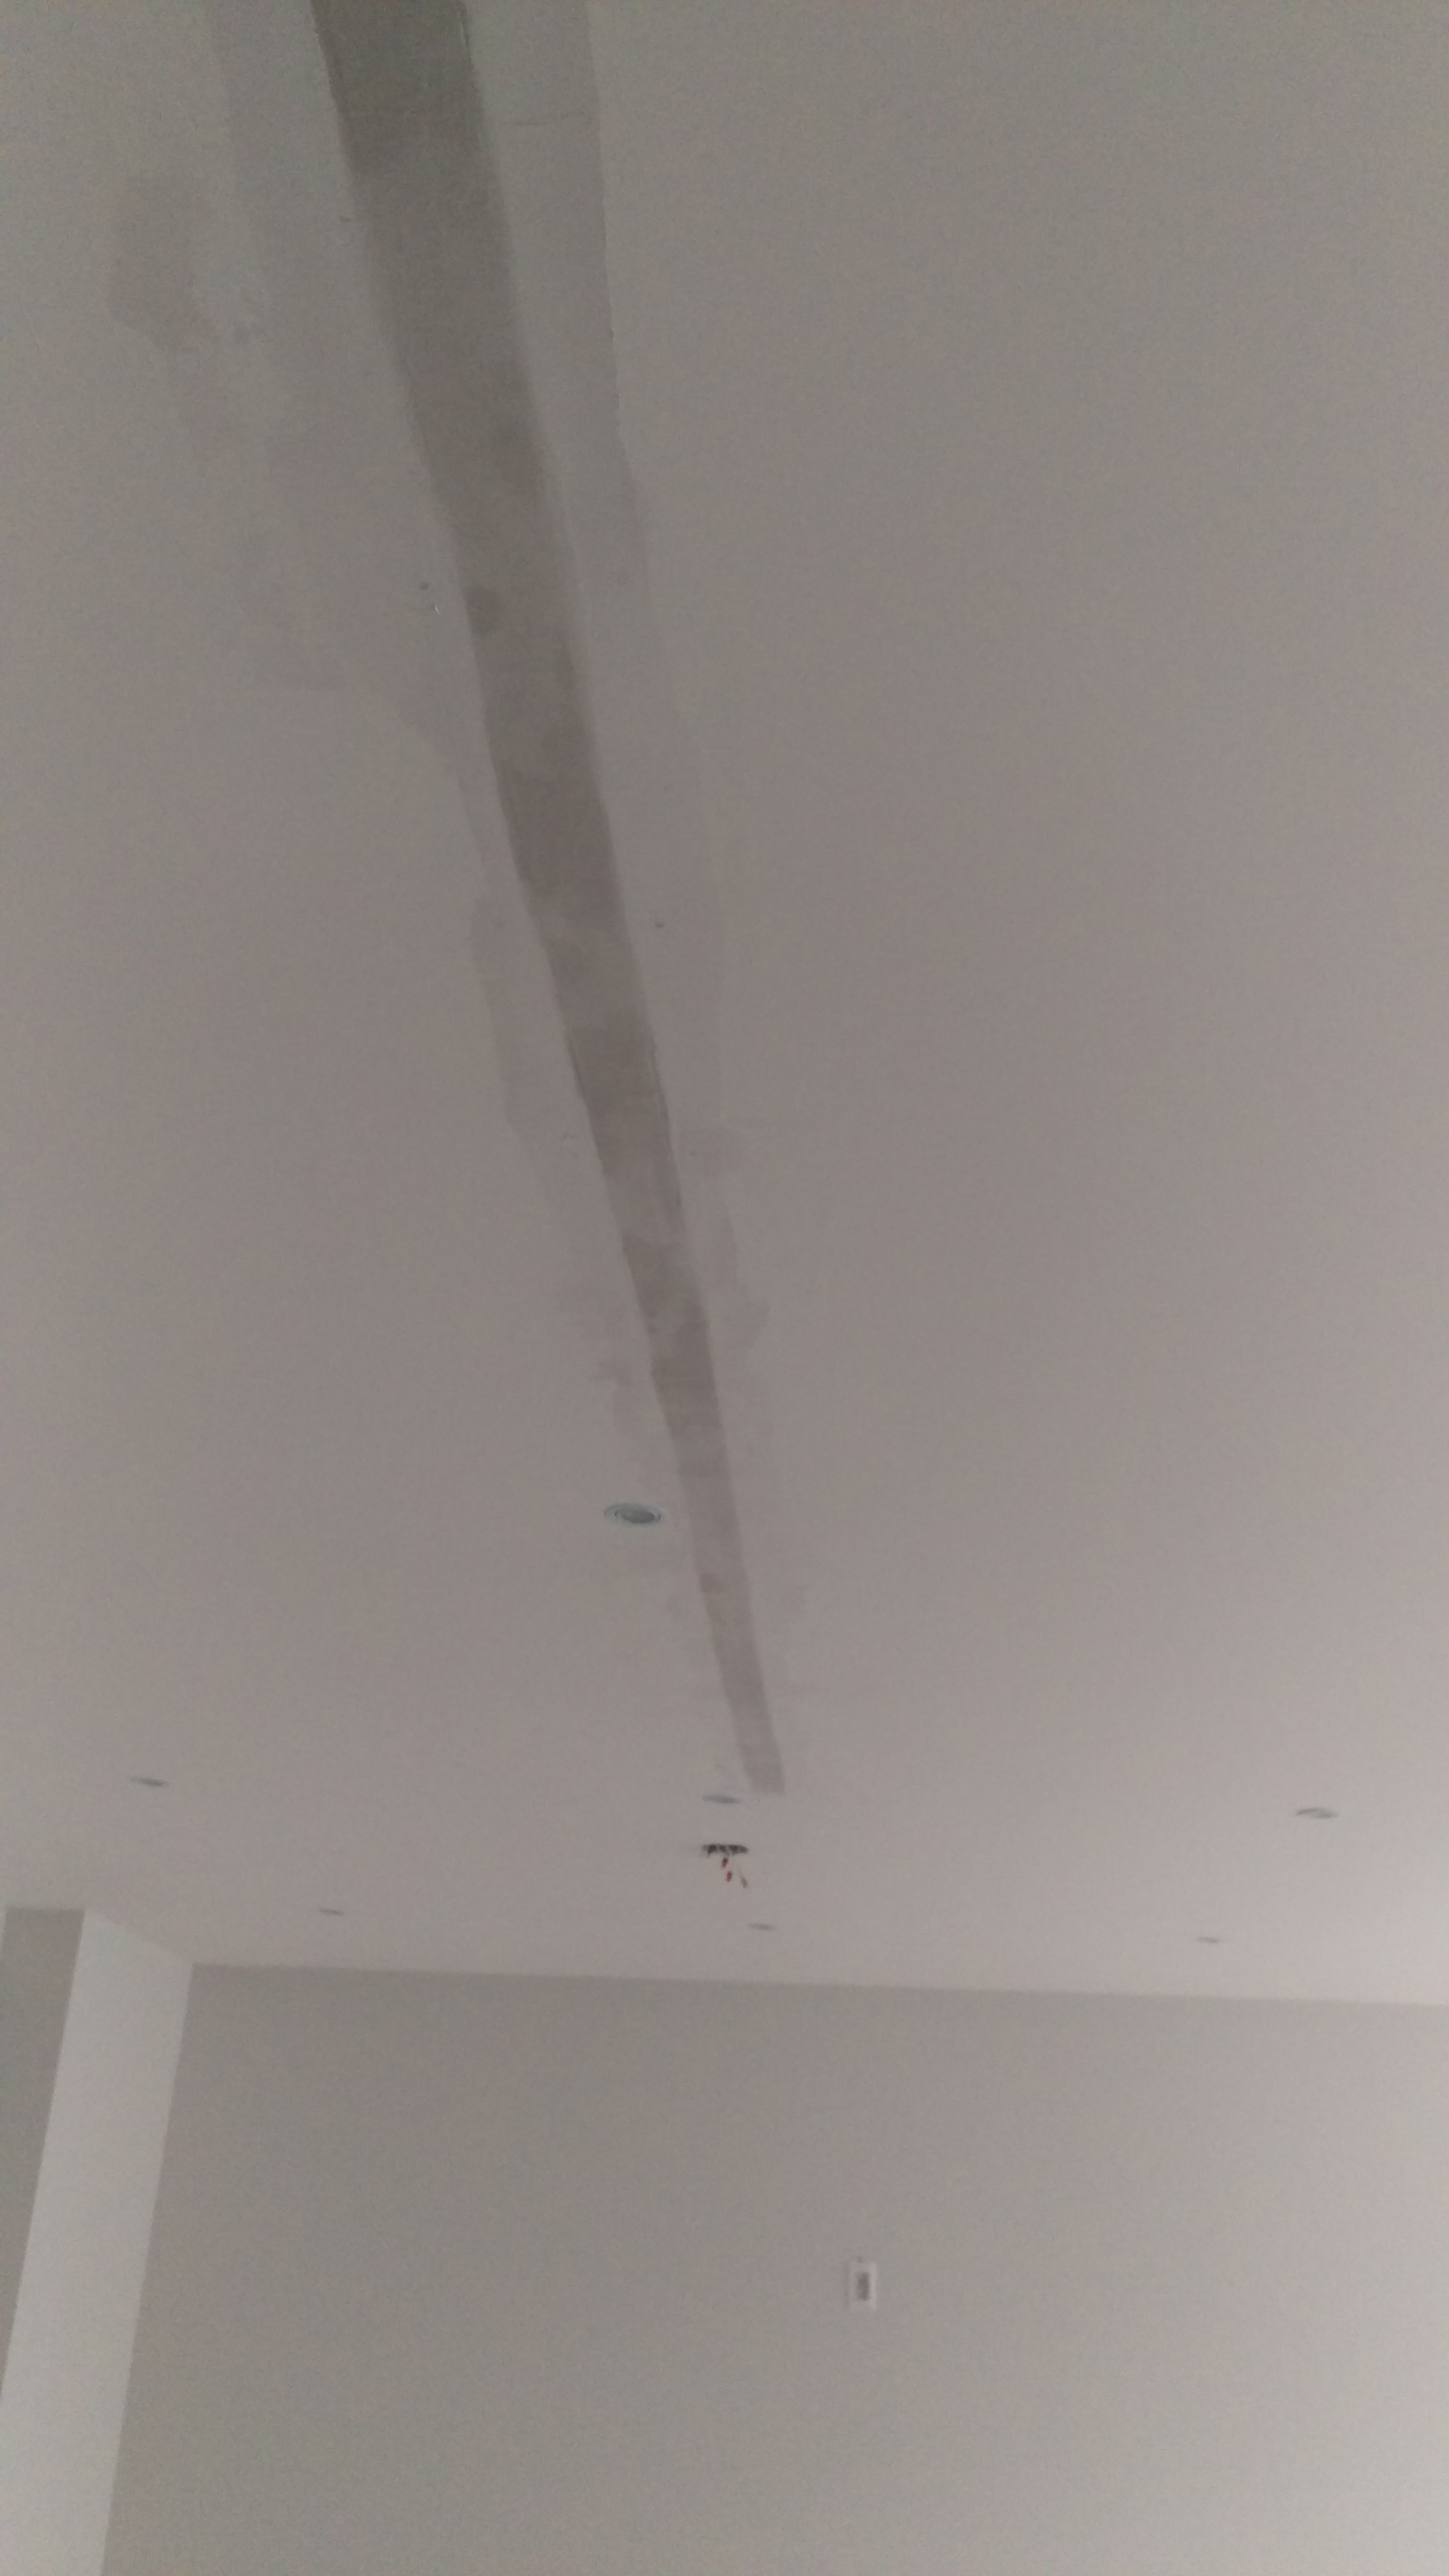
tape is skim coated
Step 5: Skim coat the tape
For this step we use Sheetrock, either the powder or the pre-mix, because it is much easier to sand later. Use your large putty knife and coat over both the tape, screws and an area 4-6″ on either side. Make sure to do one long final pass to keep things as smooth as possible.
Step 6: Repeat step 5
Step 7: Sand the area
Go over the area with sandpaper and sand it smooth. It’s helpful to run your hand on the surface, you will feel ridges in the plaster that you might not see.
Step 8: Prime the area, re-inspect & touch up, if necessary
Primed and ready for paint!
Prime the area and once it’s dry re-inspect it to make sure it’s nice and smooth. If there are any dents or pock marks fill with Sheetrock.
Step 9: Sand touch ups and paint
Once the touch ups are dry, sand and apply 2 coats of paint.
Step 10: Clean up
Always be sure to clean up after yourself!
If your walls are cracked and in need of attention, why don’t you schedule an estimate? CAM Painters would love to Transform Your Home With Lasting Beauty!