Bathrooms need special attention when prepping and painting. The moisture present in a bathroom can compound any improper prep work or poor quality products. This post is a word of caution about painting latex over oil-based paint without proper preparation….
Painting Your Bathroom Tip: Tissue Peeling
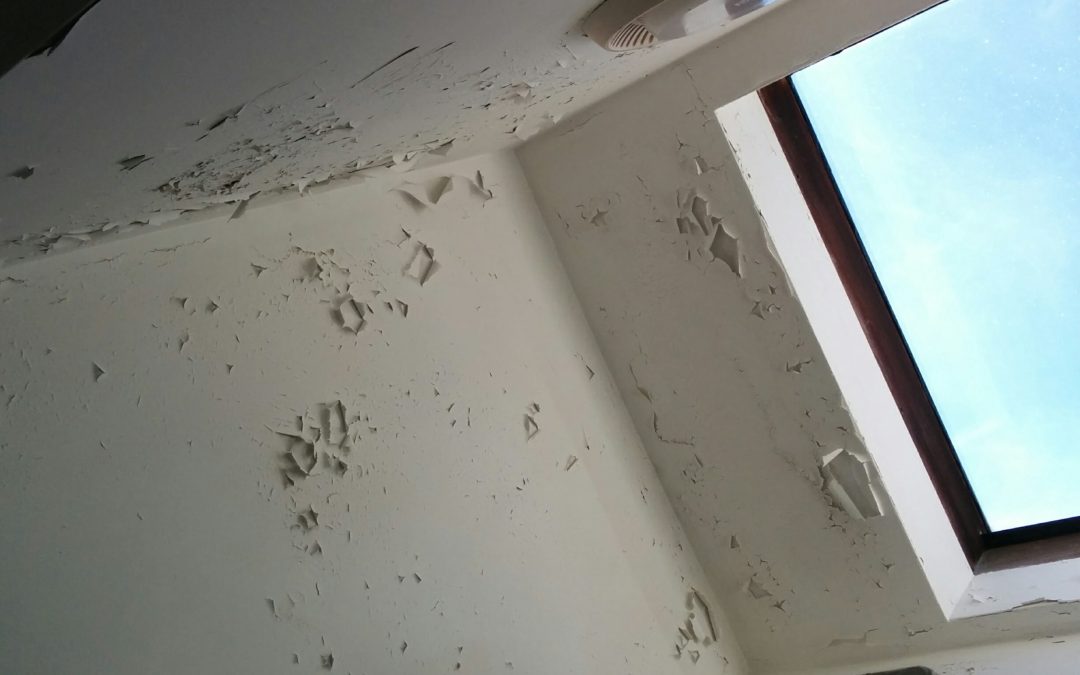
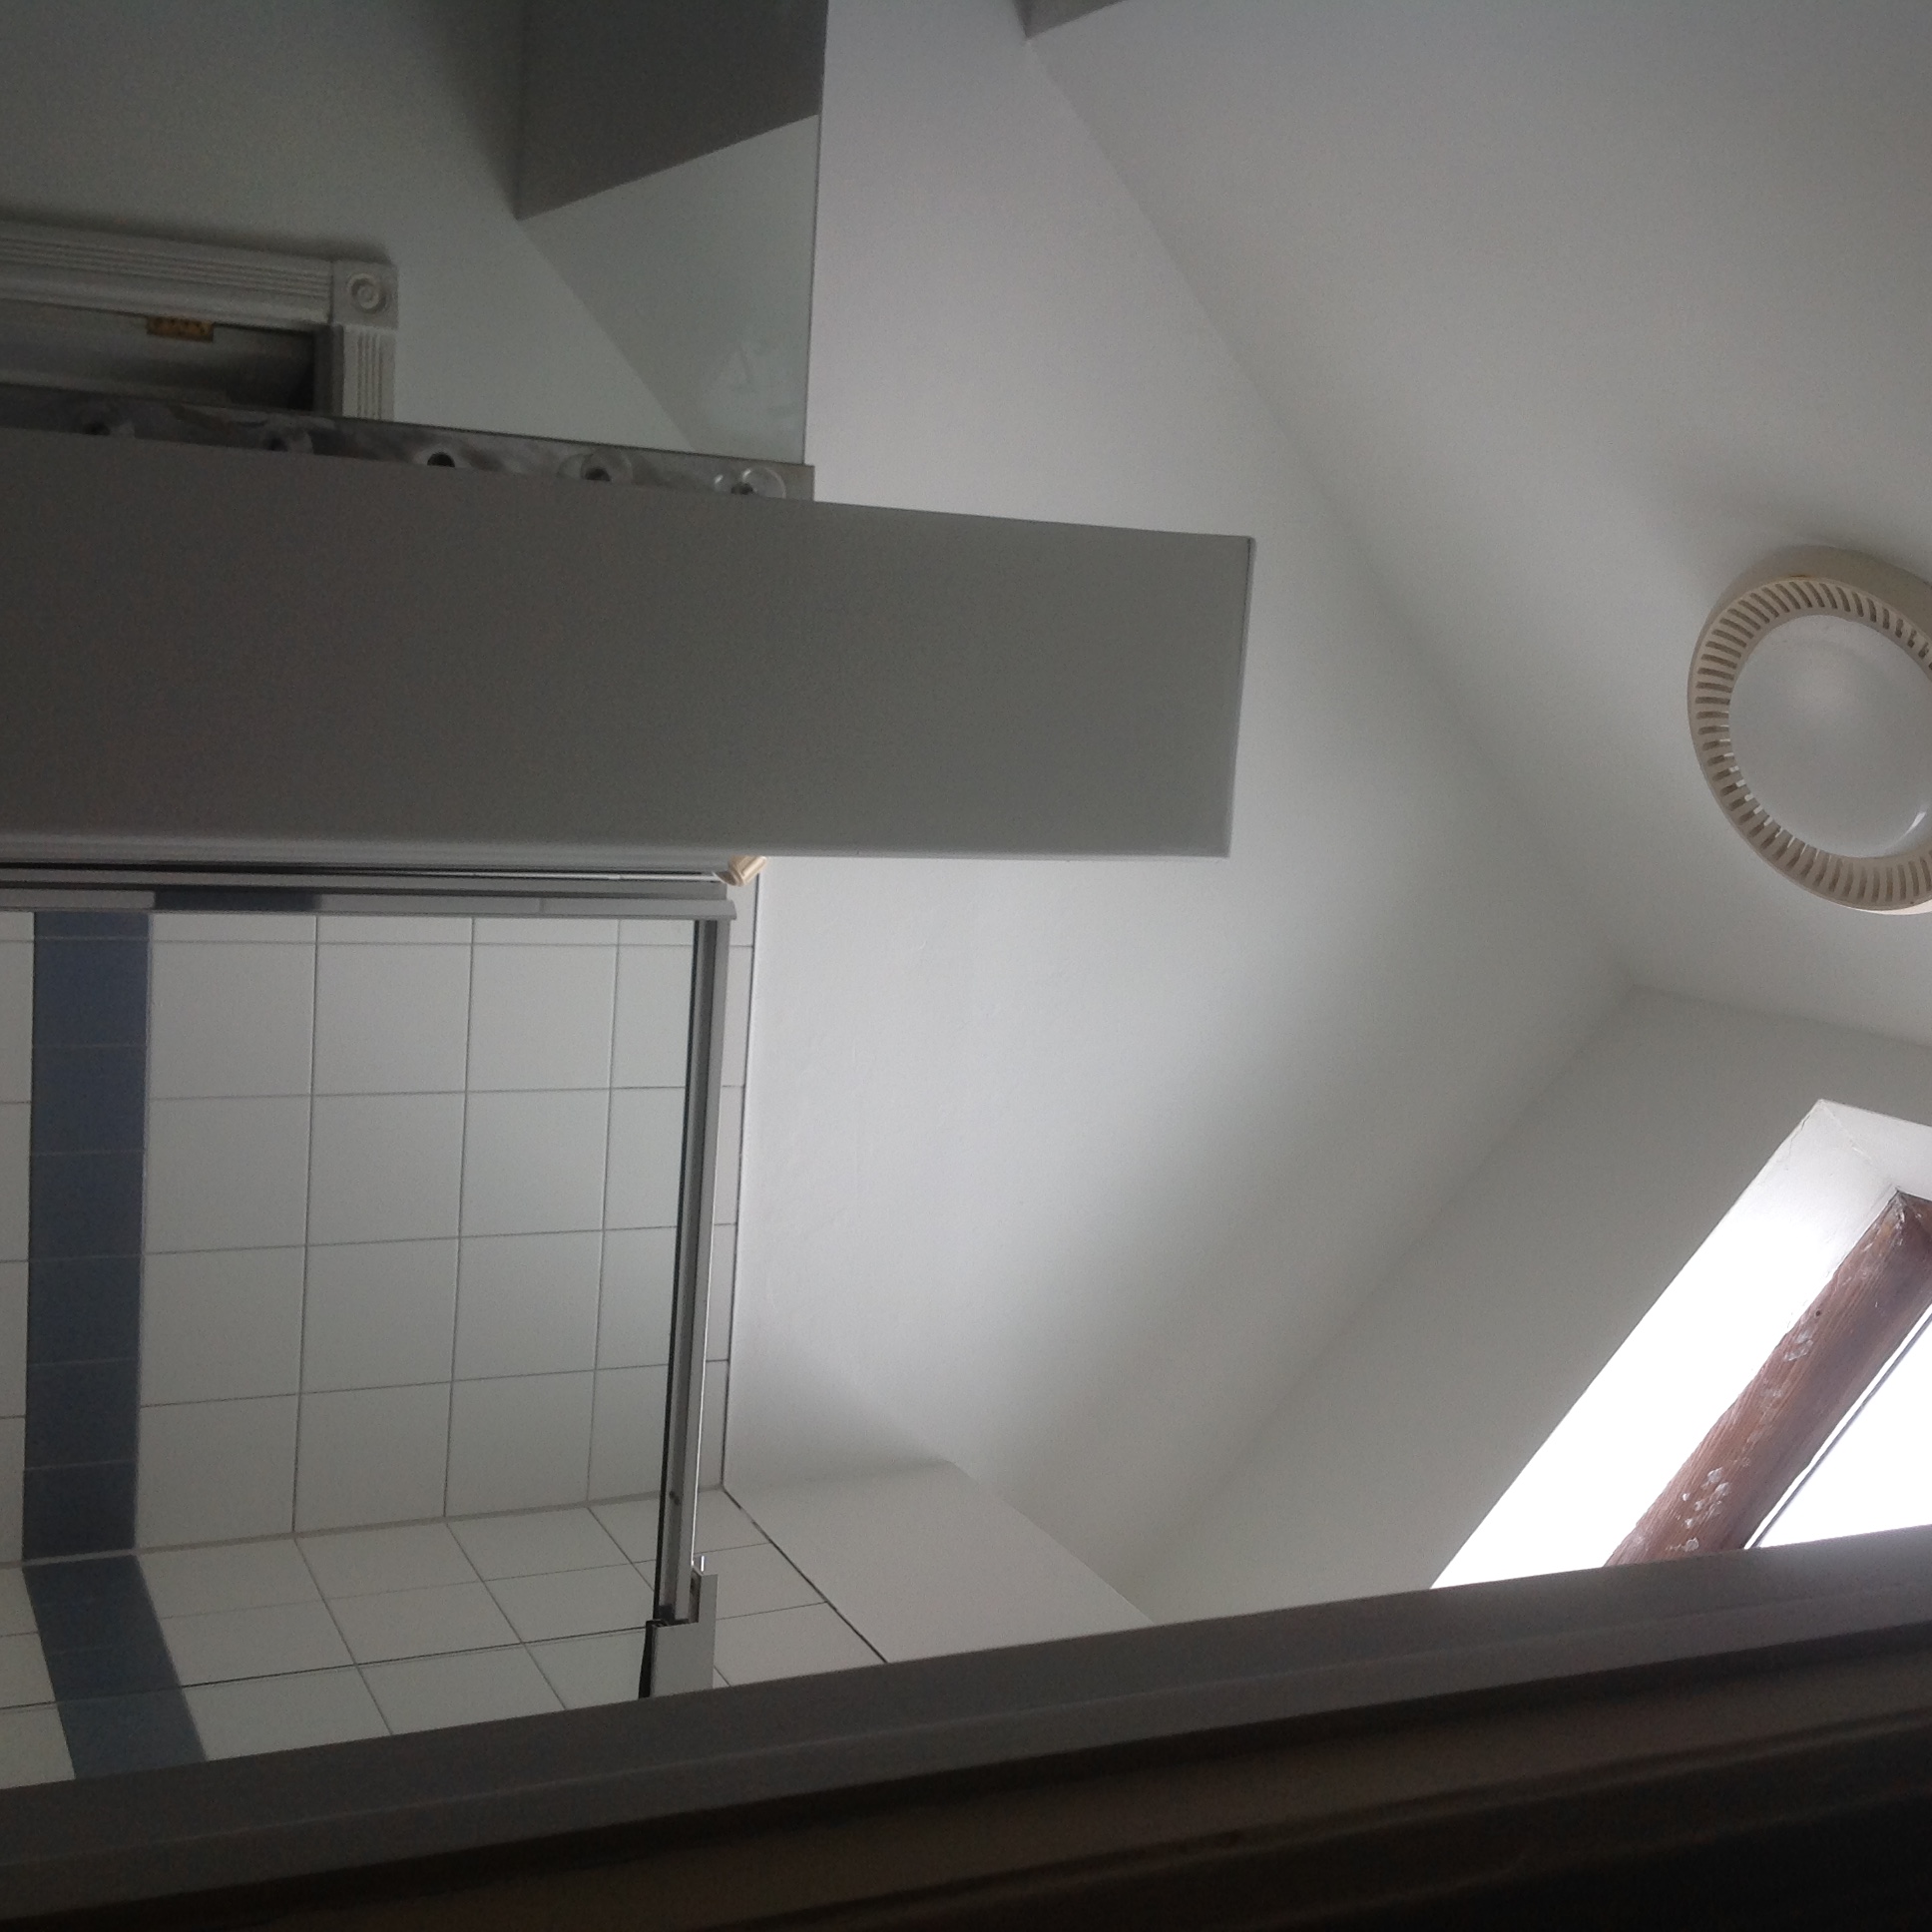
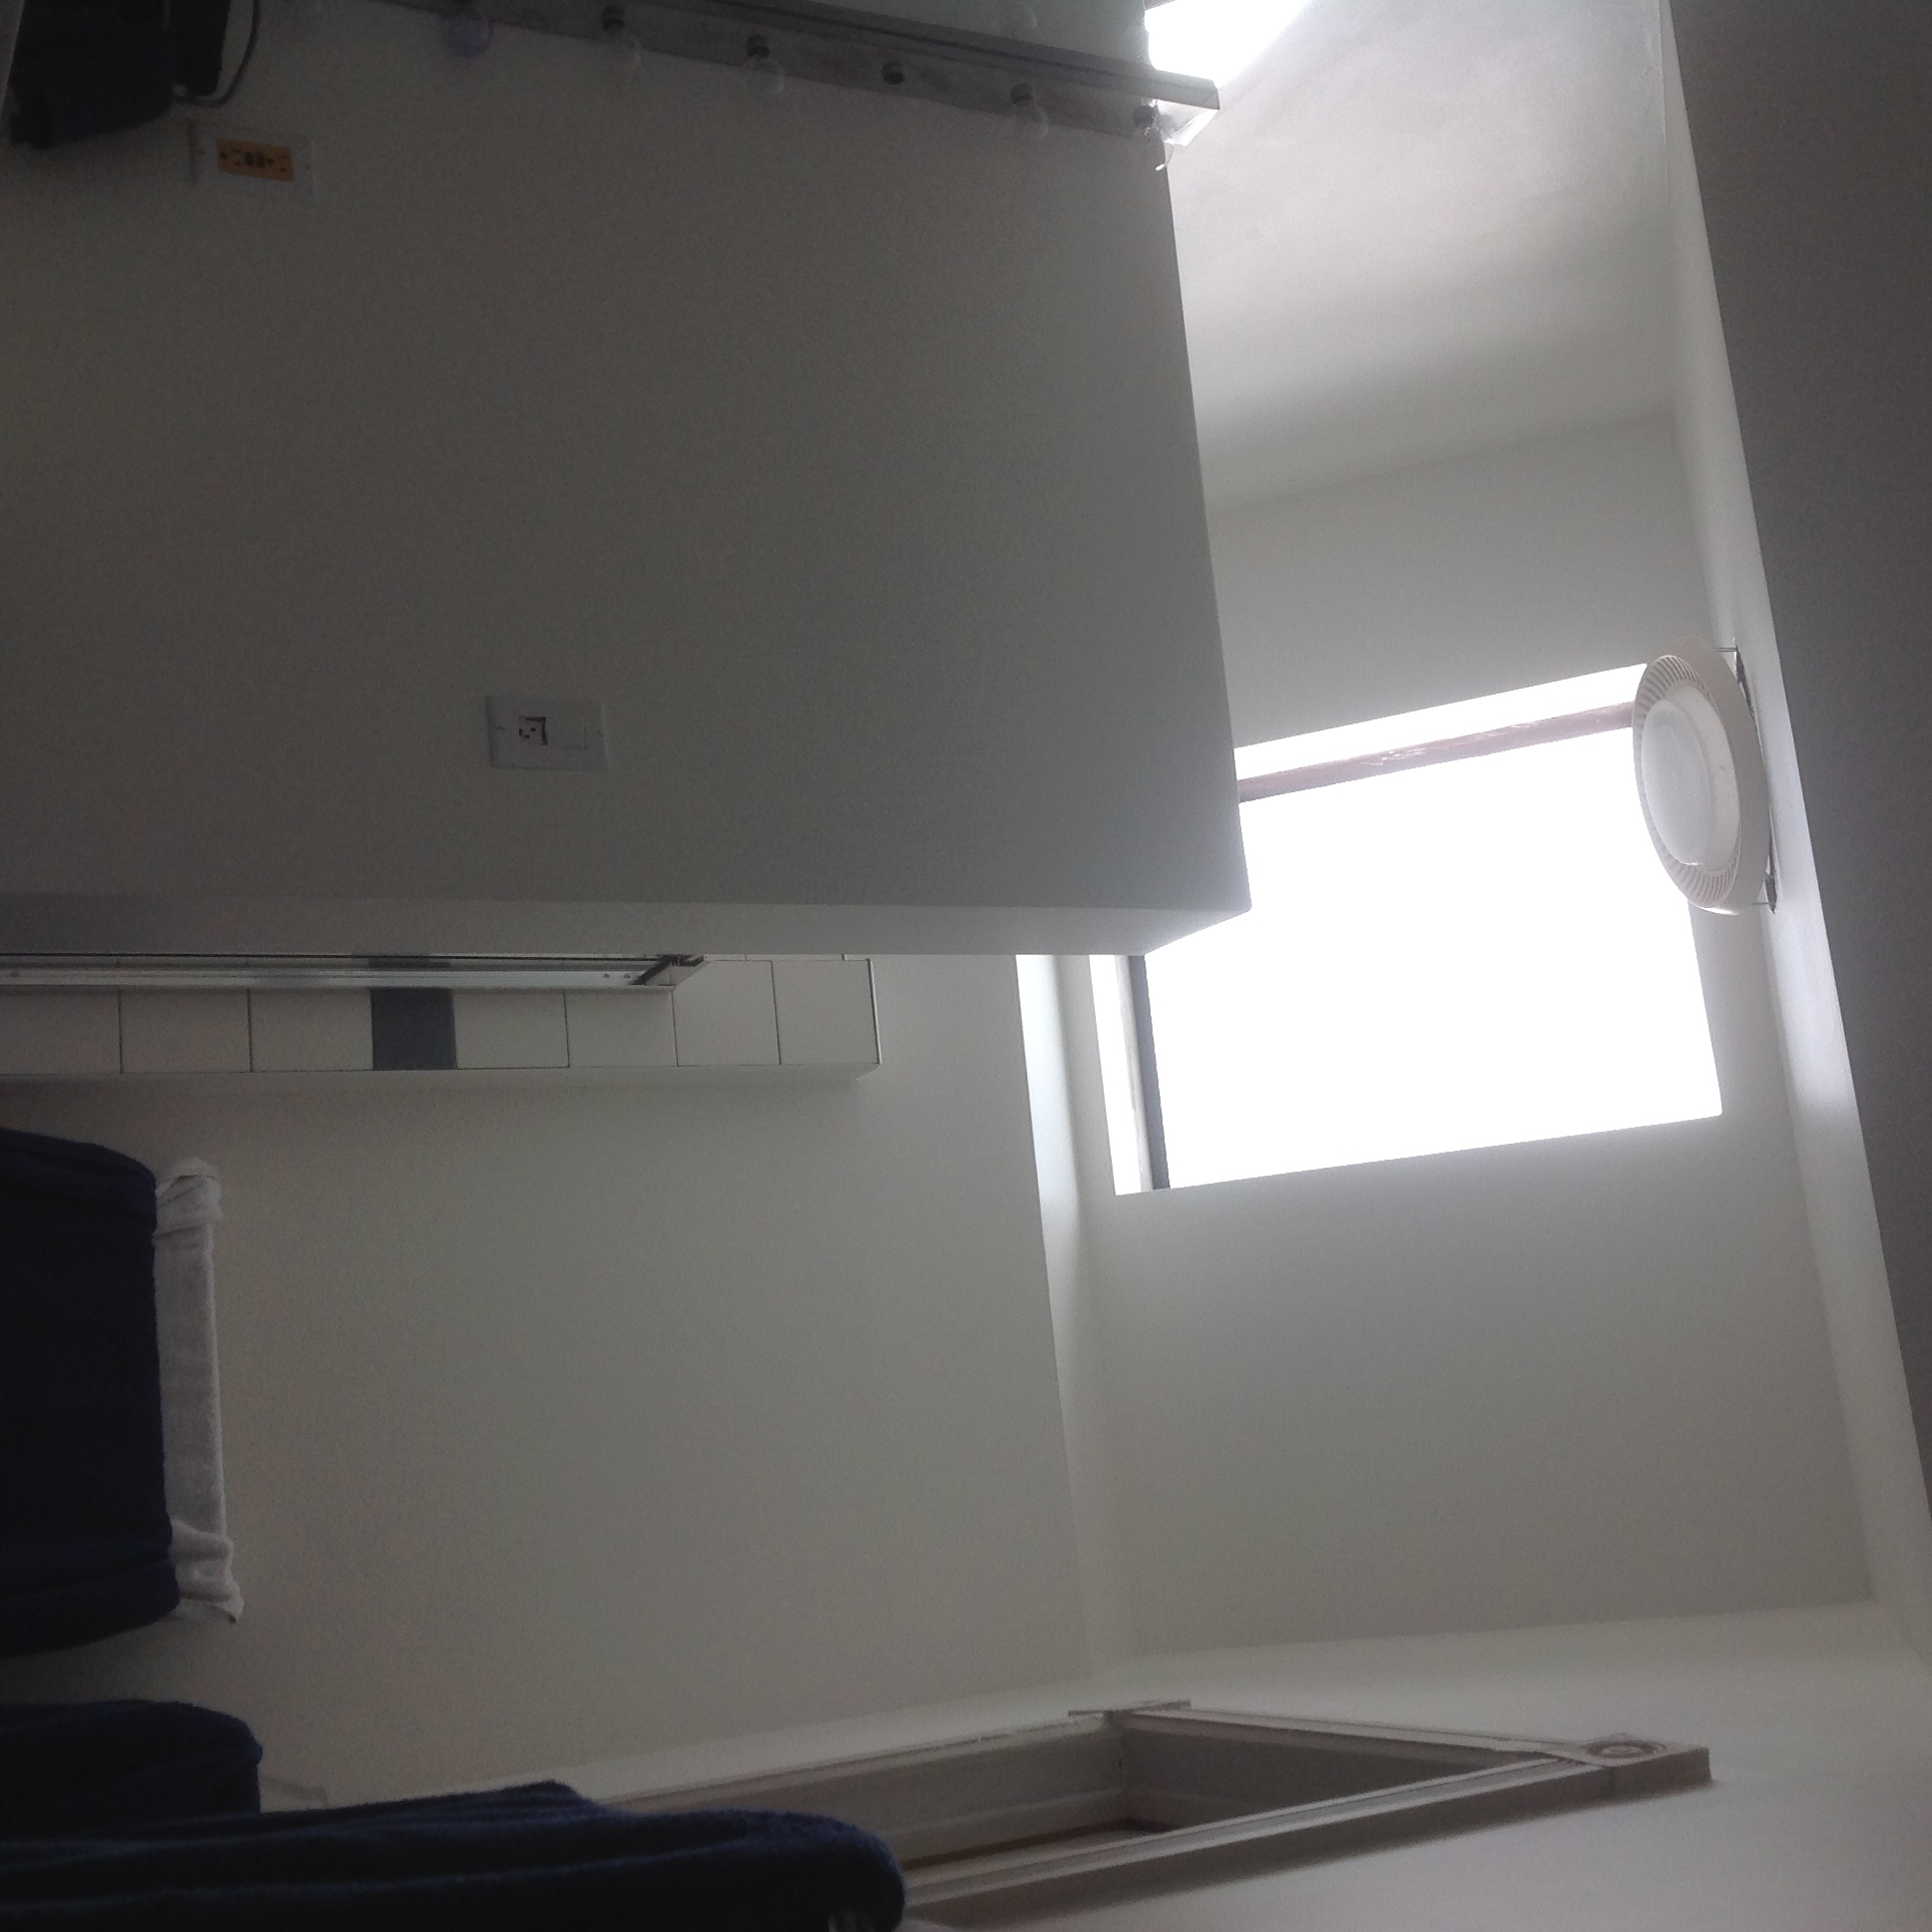
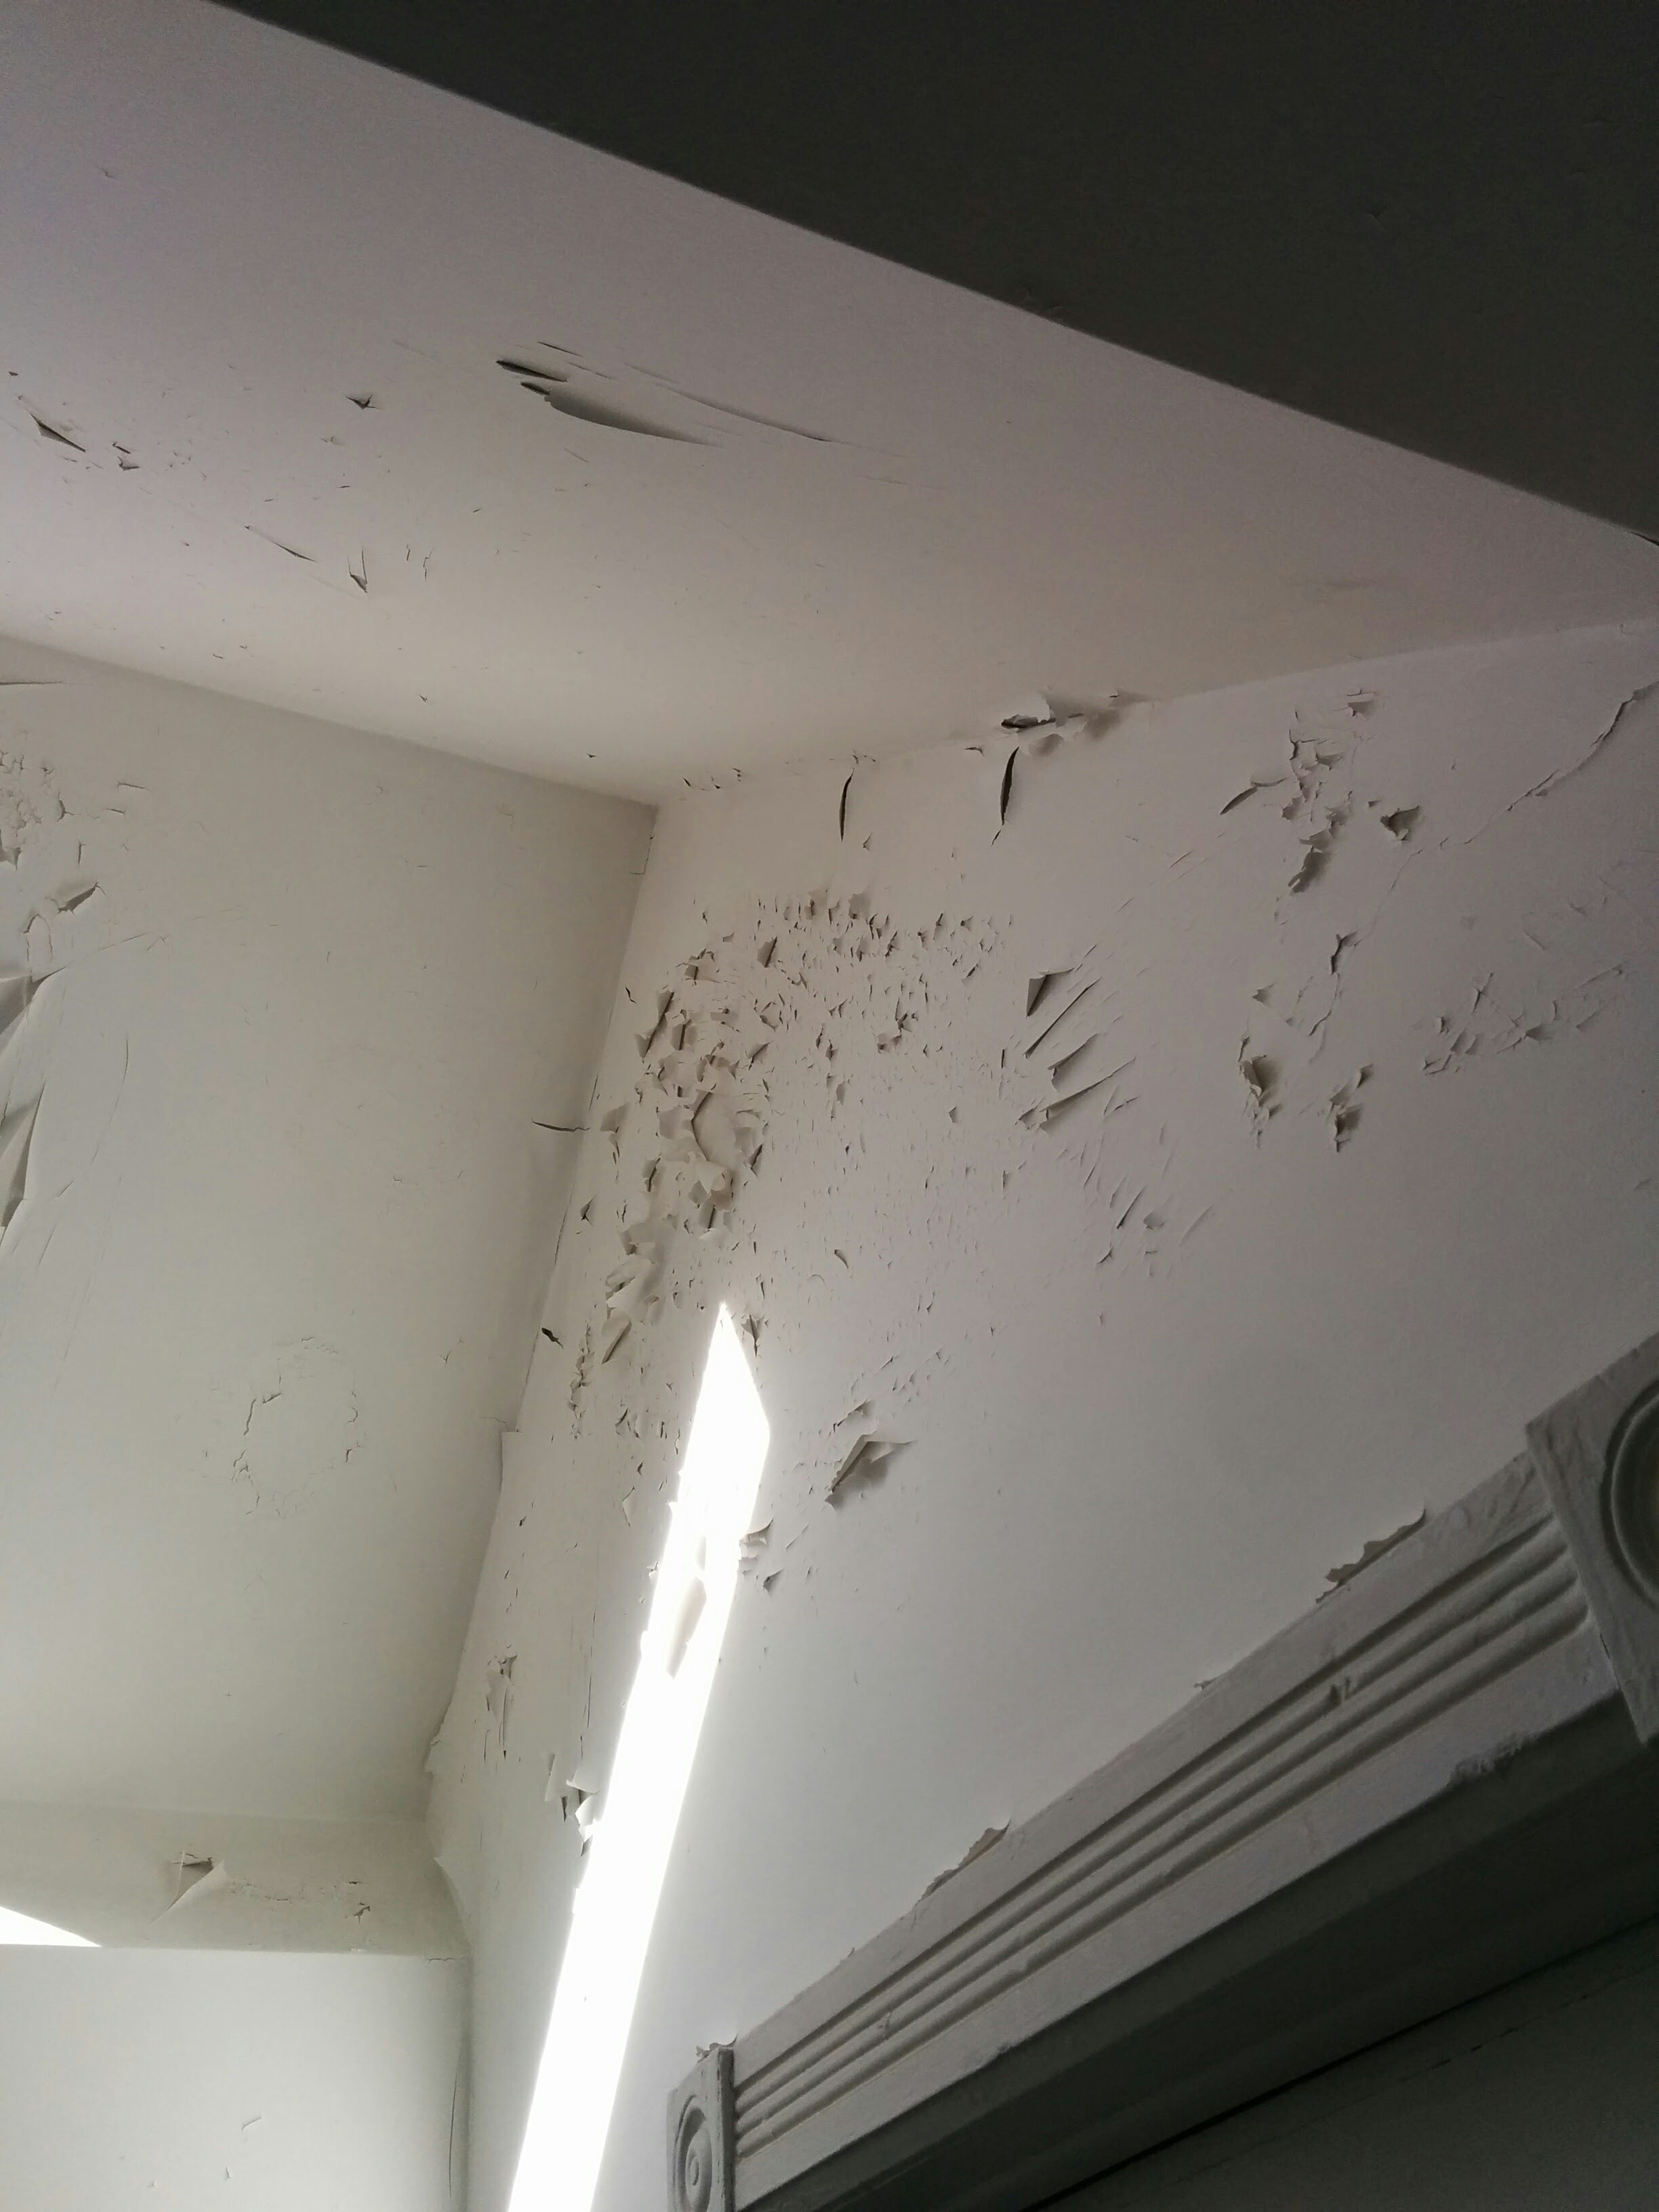 I’d like to take you through a recent project that we did for a client who lives in an older home in downtown Toronto. She had tissue peeling, where the top layer of paint does not adhere to what was underneath.
Upon inspection, we discovered that latex paint was used over the top of old oil-based paint without proper preparation. The gloss of the oil paint was not allowing the latex topcoat to bite into the surface. Even as recently as 10 years ago it was common for oil-based paint to be used in bathrooms, so a careful inspection must be done before starting the painting project.
READ: How Do I Know If the Paint in My Toronto Home is Oil or Latex
The previous painter should have sanded and primed the old paint before putting a latex paint on top. However, due to the painter’s ignorance or negligence we have the paint failure that you see here.
Painting Your Bathroom Tip: How to Fix Paint Failure
-
Before you start redecorating, make sure you have checked all of your pipes to ensure they are not leaking or faulty. Water damage may be the reason your paint is peeling, so it’s a good idea to hire quality plumbing services in Milford or wherever you are to get all of your pipes checked and replaced if needed. Otherwise, your brand new paint job will have been an exercise in futility.
- We had to remove all the peeling and flaking paint. So we basically scraped and sanded every square inch of the surface to make sure what was left wouldn’t cause peeling in the future. This gave us a sound, stable surface to work with.
- We primed the surface using a primer designed to adhere to old oil-based paint. This was to create a surface where anything we put on top would be able to bite into the surface.
- We skim coated the area to make sure that all the ridges from the peeling paint were smoothed out. A skim coat is a thin layer of plaster over the entire surface, it ensures that the surface is smooth and level.
- We sanded and wiped down the surface. Sanding creates a lot of dust and this dust should be wiped off the walls before priming and painting.
- We primed the walls a second time. Many paints boast that they are paint & primer in one, however, in this case, proper adhesion is key and it is much safer to prime over bare patch before applying the finish coat.
- We did final plaster touch ups to the walls. Once the walls are primed some minor flaws that couldn’t be seen before are revealed, so we go around with plaster and touch those spots up.
- We spot prime our plaster touch ups.
- Finally, we paint the surface. We used 2 coats of high-quality Sherwin Williams Emerald paint. This paint is mould and mildew resistant, so it’s a great choice for a bathroom or a kitchen–anywhere moisture is an issue. After you’ve finished repainting maybe a change of bathroom decor could be refreshing as well. I hear new frameless shower doors revitalize a bathroom nicely.
As you can see, there were many extra steps that had to be taken because the work was not done properly in the first place.
READ: Why is Paint Peeling on the Interior Of My Toronto Home?
Whether your paint is failing currently, or you’d just like to ensure that the work is done properly in the first place, why don’t you book a quote? We’d be happy to Transform your home with lasting beauty!