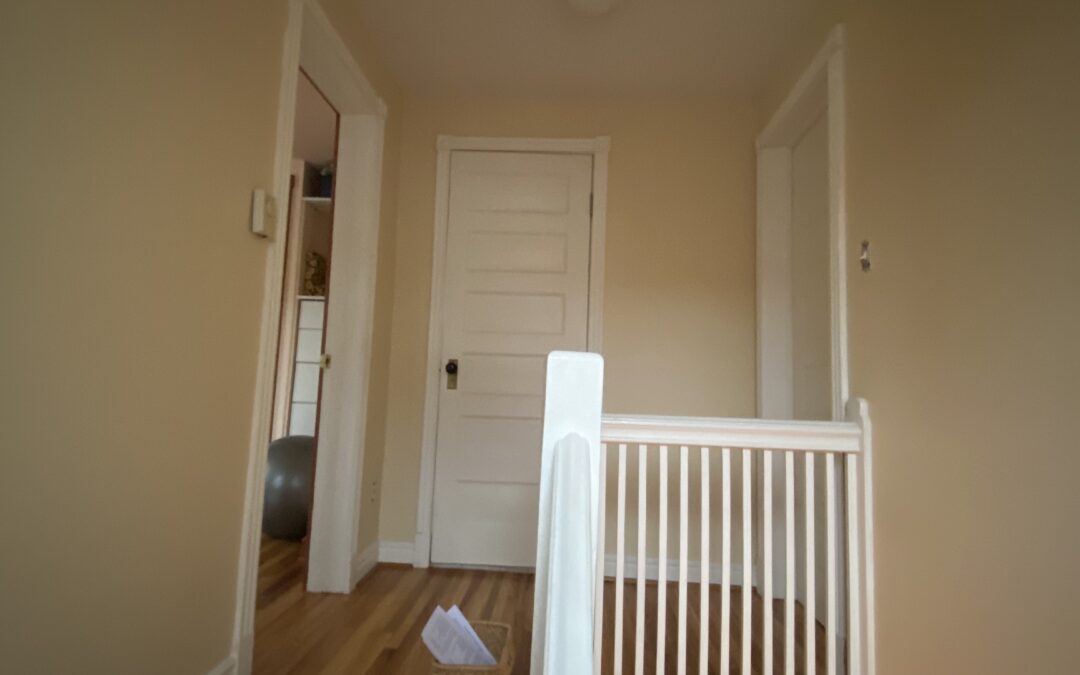
Cracks in walls can be a major cause for concern, especially if you live in an older home. The thought of water damage or structural issues is frightening, but it’s also possible that your wall cracks are caused by something as simple as temperature changes. If you want to know why your walls keep cracking and what you can do about it, read on:
If you have a cracked wall in your home, the first thing that comes to mind is usually water damage.
Water damage is one of the most common causes of cracks in walls and can happen in several different ways:
Flooding from storms or natural disasters
Leaks from plumbing problems (running toilets) or roof leaks
Condensation buildup inside your home due to poor insulation or ventilation
If this is the case, the source of water infiltration must be found and rectified. This can involve a roofer or other exterior contractor in the case of water penetrating from outside. If it’s a plumbing issue, then a plumber needs to be called to locate and fix the leak.
Cracks from expanding and contracting materials.
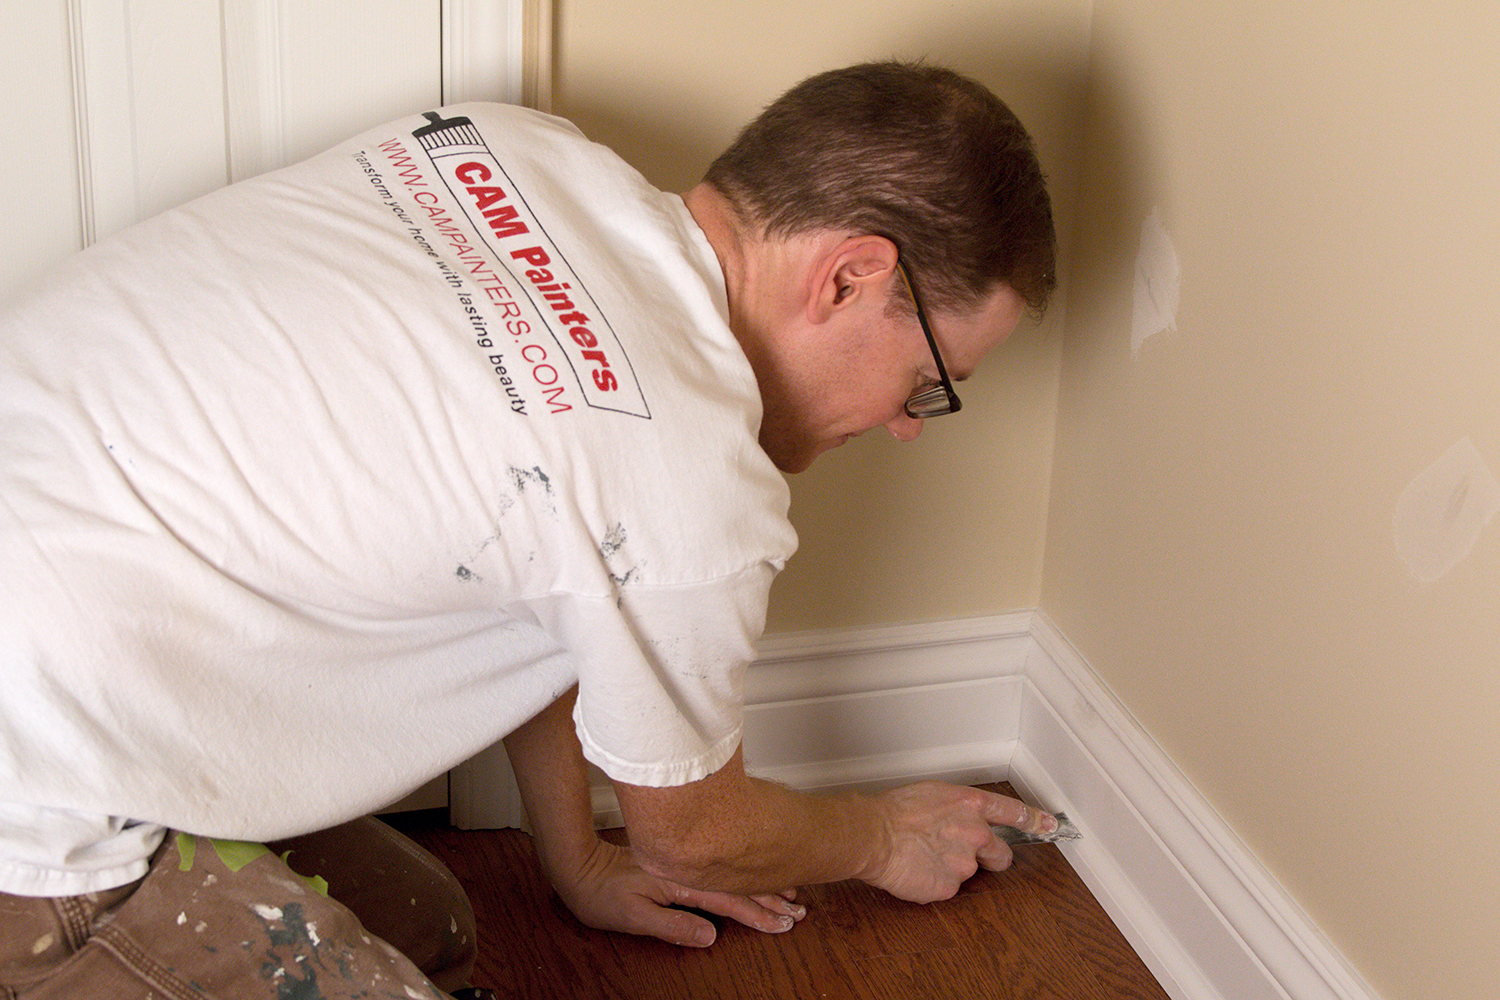
Construction materials expand and contract with seasonal changes – they expand during warm weather and shrink during colder temperatures. However, not all building materials expand and contract at the same rate, and that can be a problem. Drywall/plaster expands and contracts at a different rate than wood, which expands and contracts at a different rate than metal, then tile and so on… So wherever two different materials join, such as a door casing against a wall there’s a greater chance of cracking. In these cases we use a very flexible caulking that can tolerate the normal shifting of the 2 materials without cracking.
Cracks from movement in the foundation or crawl space.
If you have cracks in your walls, it’s likely that they’re from movement in the foundation or crawl space. The most common cause of this kind of cracking is frost heave; this occurs when water freezes in the soil and expands, pushing up against your wall. Soil settling is another possibility for wall cracking–the ground under your house may settle due to erosion or shifting soil conditions, which could cause cracks to appear on your interior walls as well as exterior ones (if they’re exposed).
Cracks caused by high winds, earthquakes and construction.
If you live in an area where high winds are a common occurrence, cracks can be caused by the force of the wind.
Cracks can also be caused by earthquakes. In Toronto we don’t usually get many natural earthquakes, however we get a lot of man-made earthquakes called “construction”! Whether it’s roadwork or building a condo these activities shake the ground and can cause cracks to show up in your walls. In this case, it’s best to wait until the construction is over and then have us in to fix the cracks.
Conclusion
We hope that this article has helped you better understand the causes of cracks in drywall and plaster. Some of these causes are beyond our scope of expertise as painters, but we can always refer you to a reputable professional to help you out. Once they have eliminated the cause of the cracks we can come in and make your walls look as good as new.
We love using Farrow & Ball Paints – they’ve got an incredible selection of unique colours that can only be achieved with pigment-rich paints. Here are just some of the reasons why we think these paints are awesome:
Their colours look fantastic!
Farrow and Ball is known for having a wide array of deep saturated colours in a variety of finishes. How do they achieve that? On average their paints use 8 different tints per colour. Most other manufacturers use a maximum of 5 tints per colour. As you can probably guess, this creates a depth of colour and a complexity of colour that other manufacturers can’t match
Farrow & Ball paints are available in modern matte finishes as well as traditional eggshells, satins and glosses; there are even semi-glosses if you want something in between those two extremes!
Their paints offer great coverage
Their paints are pigment-rich. Not only do they have a wide variety of tint in each can, they have a lot of that pigment in each can. This results in excellent coverage. Why should this matter to you? If we have a paint that gives great coverage in 2 coats rather than 3, that saves us labour time and ultimately that time savings saves our clients money!
Their paints are durable
Farrow & Ball paints are made with the highest quality materials which means that they are durable and able to handle the day to day wear and tear that your walls and trim are typically subjected to – especially if you have pets or children running around! Not only that, if an unfortunate accident happens to your paint job, we’ve got you covered with 1 hour of FREE Touch ups every year for 5 years
Conclusion
Farrow & Ball paints are a great option for your home, the colours they offer are beautiful, the paint itself gives great coverage and is durable. It’s a great choice to transform your home with!
When it comes to painting your office, it pays to hire an expert! At CAM Painters, we have been helping both homeowners and business owners with their painting projects for over 20 years. We can transform your office space with minimal disruption and stress on you and your employees!
How we work
We meet with you in person to discuss your office painting needs so that we can tailor an estimate which best meets your goals. Also, when we are in your office we can accurately assess the condition of your walls, etc. so that all small details are incorporated into the quote!
We understand how to work with Property Managers, Front Desk Security and tenants, and we’re able to get WSIB clearance certificates and Certificates of liability insurance to stakeholders in a timely fashion.
We develop a plan with you for the sequence and timing of your office painting so that there is as little disruption to your workforce as possible. If this means that we work section by section, or come in early or late, let us know and together we’ll come up with the best plan for you!
During the project we keep you updated with our progress, so that you know where we’ll be working and what we’ll be doing
At the end of the project we’ll take care of any touch ups and leave behind any leftover paint, labeled for any future touch ups
Final Thoughts
We provide office painting throughout Toronto. Whether you have an industrial unit with a front office, or you’re in a highrise office building in the heart of downtown, we’ve got you covered! If you have any questions or would like to learn more about our services, please contact us today!
Painting a condo is a specialized task, which requires a different approach than painting other structures. Here’s some reasons why CAM Painters offers the best condo painting experience in Toronto!
We offer remote estimates
Many of our clients hire us to paint their condo before they move in. This can present some challenges for an in-person estimate, given that an estimate is required before our client’s have possession of the property.
We are happy to do a physical inspection during a real estate visit, but sometimes that’s not possible.
Fear not! We offer remote estimates! Send us pictures of the condo along with a floor plan and we can provide an estimate based on these. Another option is when visiting the condo, let’s do a video chat walkthrough of the space and we can provide an estimate based on that.
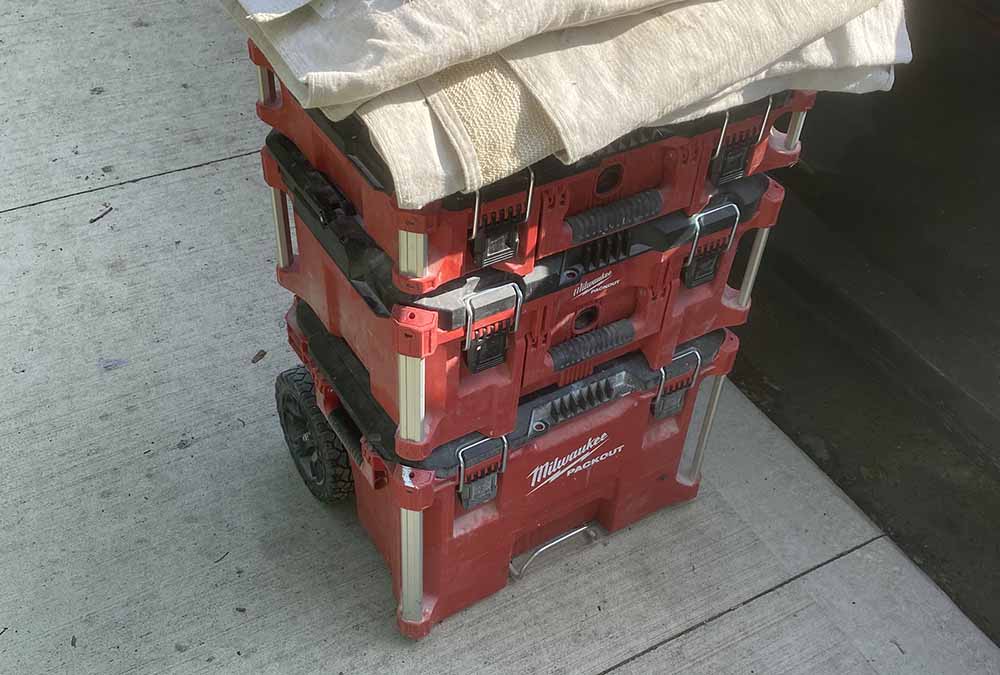
We only need one trip up the elevator
We understand what a hassle it is to book a service elevator for multiple trips up and down with tools and other equipment!
We address these issues with a modular stackable tool kit that allows us to get all we need up to your suite in one trip. Since we’re up in one trip, we find most of our clients don’t even have to book an elevator (check with your management office as rules vary between condos).
We work efficiently
In most condos, space is at a premium. Therefore, we work methodically from room to room, so that furniture can be moved out and then put back in that particular space after we’re done. This minimizes disruptions for our clients and keeps a clean and neat work environment.
In summary
We offer remote estimates, we only need one trip up the elevator and we work efficiently. Why not let CAM Painters transform your condo with lasting beauty?
Are you looking for something a little different? Maybe you’ve found a wallpaper pattern that you like, but you can’t find it in the colour that you like?
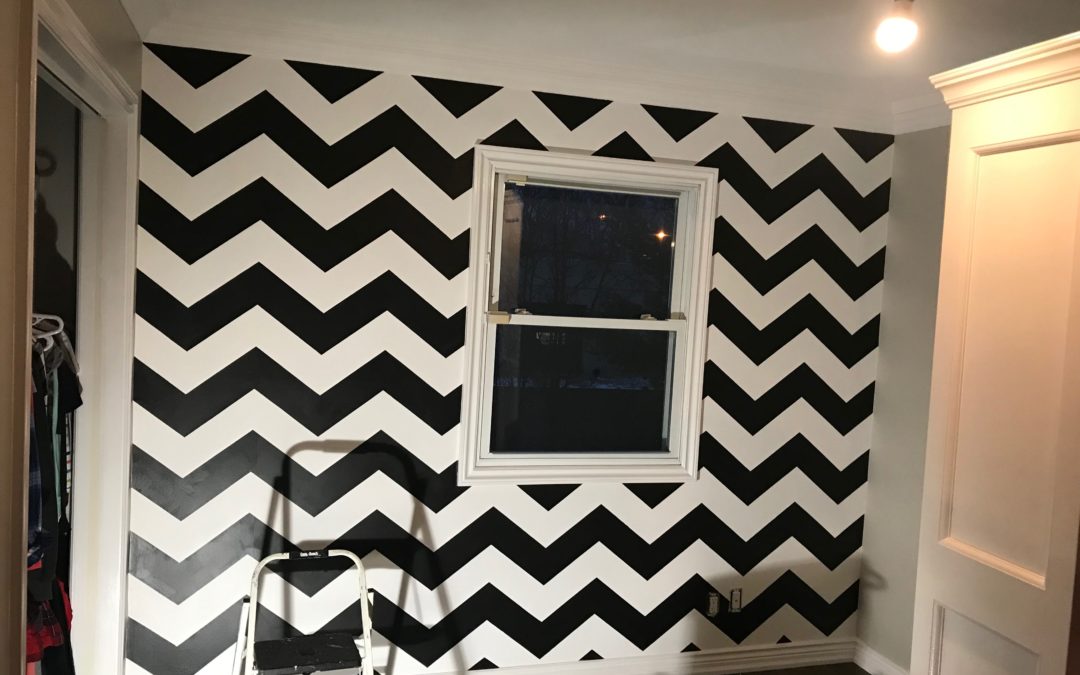
That’s what happened to this family. Their daughter wanted a specific pattern in a specific colour, she wanted a chevron pattern in black and white. Their interior designer tried to source a wallpaper, but nothing caught their fancy.
The solution, get a stencil and paint a chevron pattern on the wall! With paint, the colour choices for the accent wall are now unlimited!
Here’s what we did, step by step:
Paint the base colour
We decided to use the white as the basecoat. Darker colours usually hide better over lighter colours, rather than lighter over darker.
We used Benjamin Moore’s Chantilly Lace which is almost a pure white. Even using top quality paint, we need a few layers of paint to have it look nice and evenly coloured. So we primed twice, followed by 2 coats of finish.
Once the base colour is done we needed to make sure it had enough time to fully dry, so we left it until the next day.
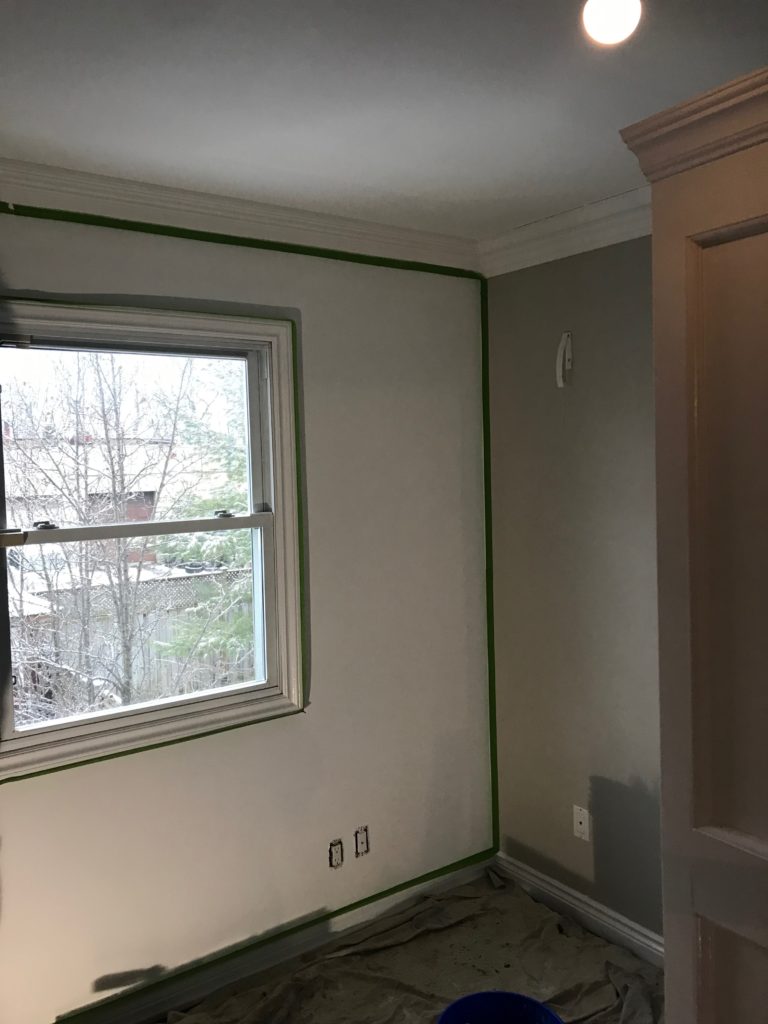
Prepping for the stencilling
Stencilling can be a little messy, so we taped around the perimeter of the wall, and around the window. Basically we taped off any adjacent areas that we didn’t want our stencil colour on.
Next, we wanted to minimize bleeding around the edges of our stencil, so we took spray adhesive and sprayed the back of our stencil. We let it dry for a few minutes, we wanted it to be slightly tacky, but not so sticky that it would take paint off the wall.
Stencilling our pattern
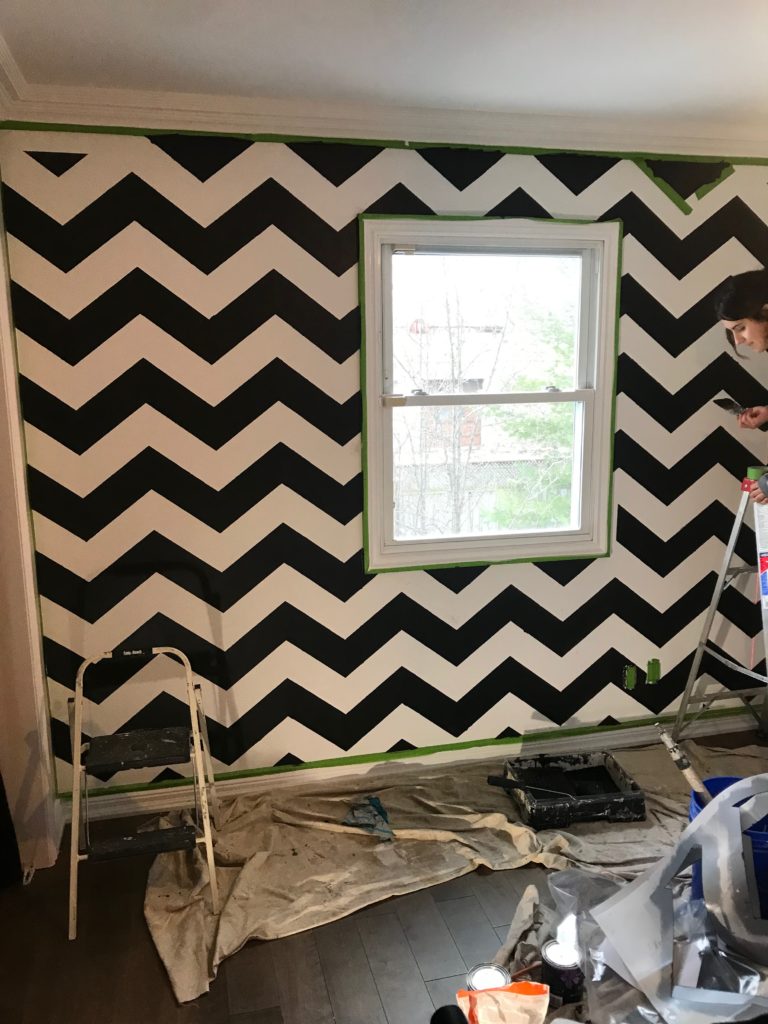
We used our laser level to keep everything in line. Basically we lined it up with the bottom corner of each chevron.
We started at the top of the wall and worked our way down. After we finished each vertical section, we moved the stencil back to the top and did the next section over, in the same manner.
With stencilling we had to use very little paint, to avoid the paint bleeding underneath. So we used 3 coats, and took our time, so that it could dry before the next coat was applied. In fact, we put a hair dryer on the drying paint, just to speed it up a little.
Even still, we had some bleeding paint, which we had to go back after and fix.
We had to respray the back of our stencil every 15-20 min, just to keep it tacky.
In the corners and around the window we bent the stencil and got in as far as we could. Afterwards we finished the pattern off using some tape.
Final touches
After we did our stencil, we let the paint dry to the touch. Then we finished off the pattern in the corners by taping the edges. Anywhere where the black bled under the stencil, we taped and painted a little white along the edges.
For taping we really like Frog Tape, which has virtually no bleed through along the edge. Just remember to press firmly along the length of the tape, to stick it down!
In conclusion
This was a fun project and the client absolutely loved it. If you’re interested in exploring doing an accent wall in your home, why don’t you schedule a quote? We’d love to Transform Your Home With Lasting Beauty!
So you’re planning on renovating your Toronto home?
CAM Painters can help! Everybody loves a bit of home renovation, and the beauty in it is that there are so many ways you can go about renovating your home, even if it is just investing in new interior doors as you’re not really into the old design anymore or having new windows put in. Whether this is through installing a home security camera external or renovating a certain room, there are so many ways to improve a house. However, we believe that painting is at the heart of all home renovation projects! Especially if you like many have decided to get your house painted after replacing doors or windows or add an addition to your house using somewhere like www.majesticdesigns.co.uk. Not only can we do the painting, we can recommend the sequence of painting so that it’s done as efficiently as possible.
Step 1: After the drywall has been installed, taped and plastered
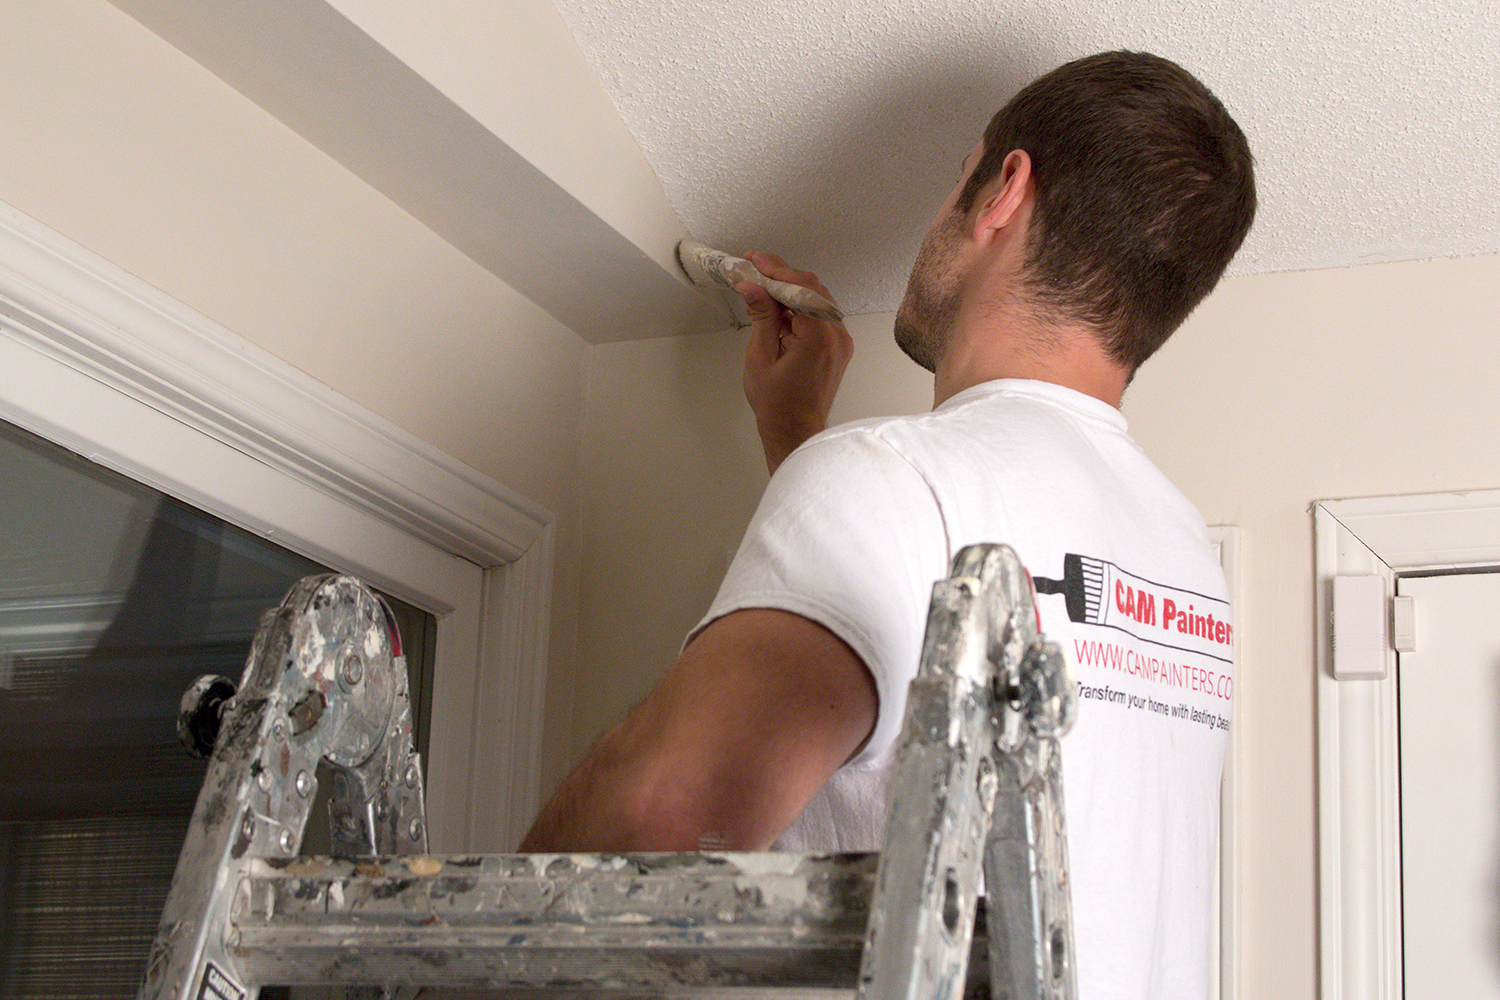
Prime walls and ceilings, Paint ceilings, Prime and Paint trim while it’s loose
Once the place has been drywalled, taped and mudded it’s a perfect time to have us in to prime and paint the ceilings. Ideally this can be done before flooring goes in. As an added bonus, if the trim and casings are onsite, we can prime and get a coat on those before they are installed.
The benefit of getting the ceiling and walls primed early on in the renovating process is that if there are any deficiencies by the drywallers, these can be seen and rectified. It’s better to have these deficiencies fixed before the floors, trim and other finishes go in.
Getting a coat of primer and paint on the trim while it is loose is more efficient than after it’s installed, so it saves time, which in turn saves money.
Step 2: After flooring and trim has been installed
The next phase of renovating would be to have us in after the flooring and trim has been installed.
This phase would consist of the following:
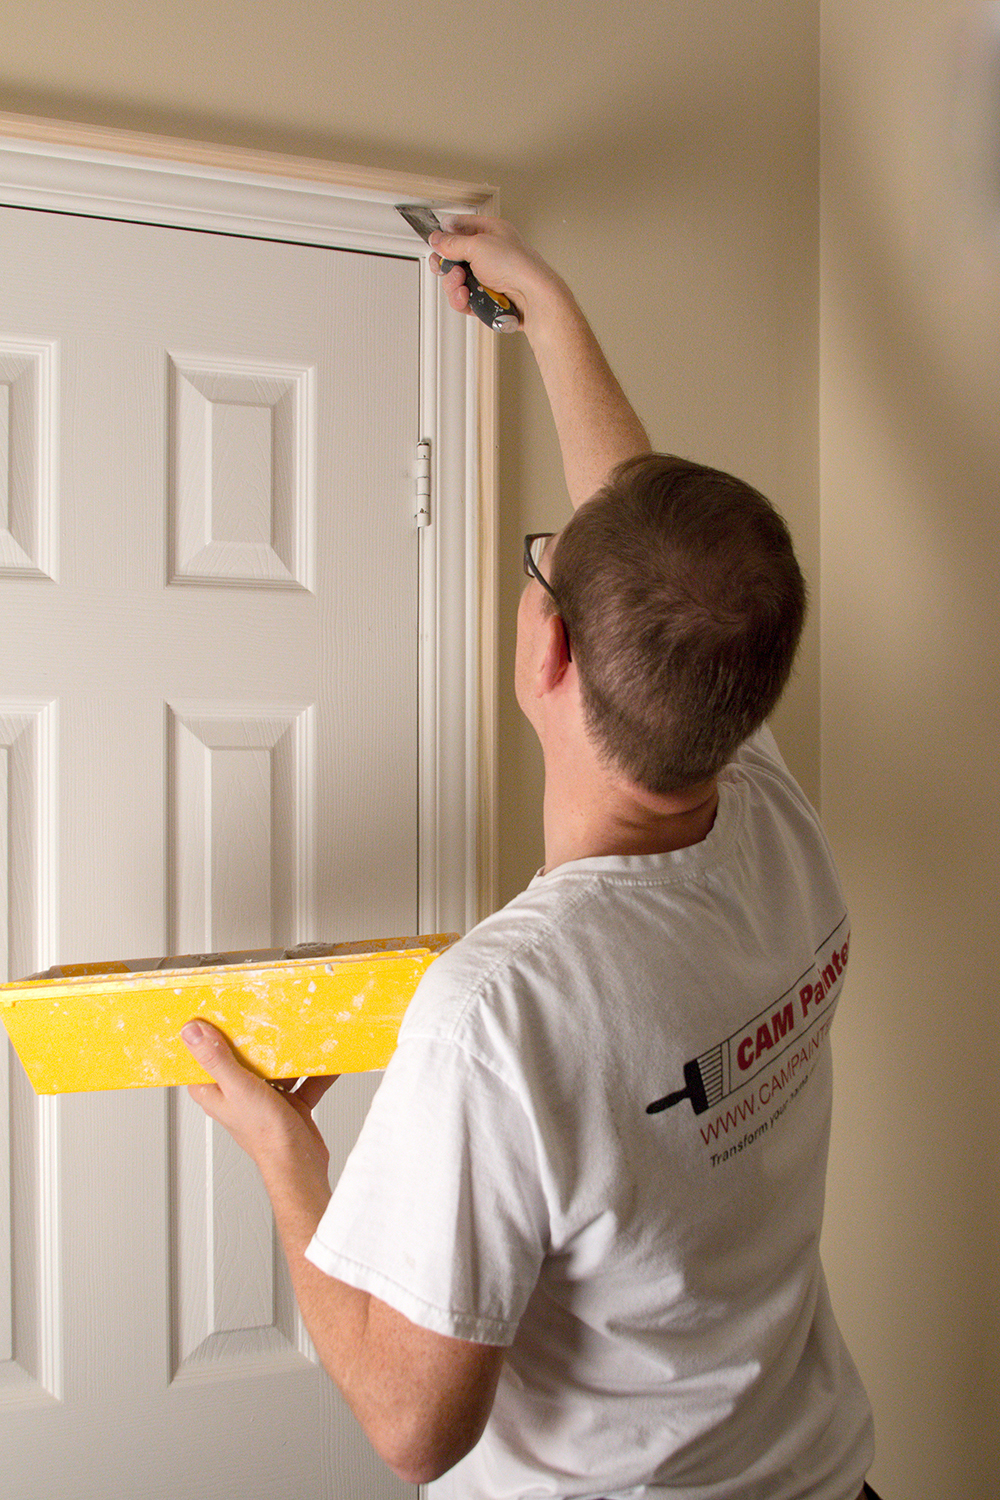
Filing nail holes in the trim
Caulking gaps between the trim and the wall
Painting the walls – 2 coats
Painting the trim – it already has 1 coat, so it just needs the final coat
At this point the project would be complete, except for touch ups
Step 3: Final touch ups after move in
Although most movers are careful, there is always some wear and tear from moving furniture back into a home. So we recommend allowing for a day of touching up the paint, which can be scheduled shortly after you move in.
Final thoughts to consider when planning your renovation
You should allow enough time in your renovation schedule that painting can occur when there are no other trades. As careful as other trades are, the more of them that are onsite, the more damage that is likely to happen to the paint.
Your contractor should ensure that the HVAC system is running properly prior to having any painting. If a house is too cold, or too dry, it can have a negative impact on how the paint dries. If your HVAC system isn’t working then you need to hire a professional who can help Repair Air Conditioning & Heating System for you.
Your contractor should also ensure that there is a laundry sink and that water is available to use. We need water to clean brushes, mix patching compound and wet rags to clean off surfaces.
Also, please make sure your contractor has the wood casings and trim are on site a week before painting starts. This allows the wood to acclimatize to the house and do any expansion or contraction before primer and paint is applied.
If you’d like to have CAM Painters handle the painting portion of your renovation project why don’t you book a quote? We’d be happy to Transform your home with lasting beauty!